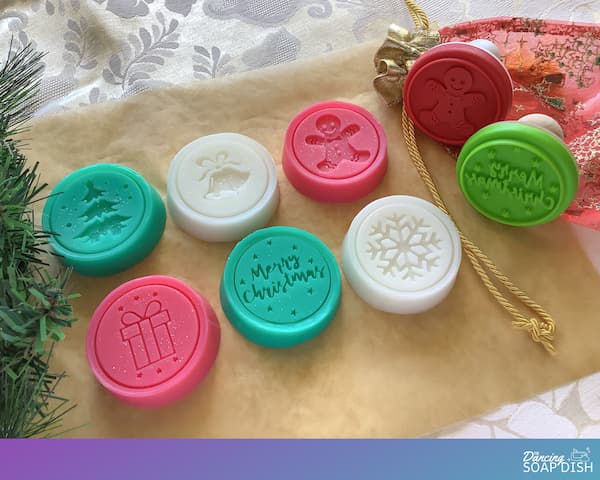
Christmas Cookie Stamp Soap Bars
Got some cookie stamps lying around? Let's make some Christmas cookie stamp soap!
Equipment
- Alcohol in a Small Spray Bottle (rubbing alcohol/isopropyl or vodka)
- Kitchen Scales
- Glass Measuring Jug
- Bamboo or Metal Skewer
- A Pair of Scissors
- A Retractable Craft Knife (only required if using a cookie stamp with a handle)
- Paper Towel
- Microwave or Double Boiler
Ingredients
- 240 g Clear Melt and Pour Soap Base (~8 1/2 oz)
- 60 g White Melt and Pour Soap Base (~2oz)
- 6 Christmas Cookie Stamps
- 9 Regular Sized Paper Cups (8oz)
- Mini Paper Cups (2oz - only required if using a cookie stamp with a handle)
- Mini Spirit Level
- Soap Fragrance or Essential Oils (optional)
- Red Soap Colouring
- Green Soap Colouring
- Pearl Mica
- Holographic Eco Glitter (optional)
Instructions
Pouring the Soap
- Set out all of your equipment and ingredients ready to be used.
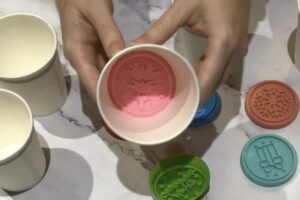
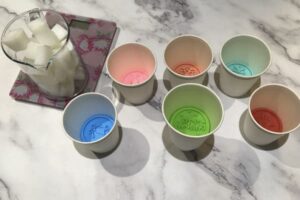
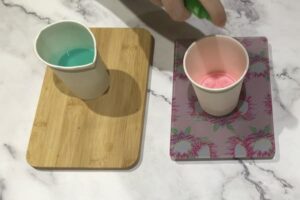
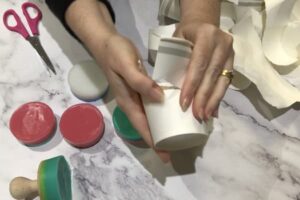
- Push each silicone cookie stamp down into a paper cup until the cup fits snugly around the edges of the stamp. Ensure the cookie stamp is facing design side up.
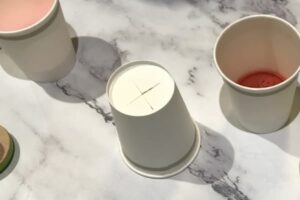
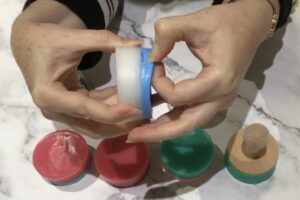
- If the cookie stamp has the handle attached, then cut an ‘X’ into the bottom of a paper cup with a retractable craft knife and push the handle through the bottom of the paper cup. Nest the paper cup with the handle sticking out of it inside a smaller paper cup so the cups sit level on top of each other.
- Place a small spirit level on the surface of each cookie stamp to check if the stamp is sitting level (the spirit level’s bubble will be in the centre if it is). Adjust if necessary.
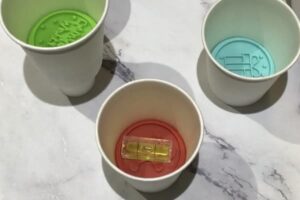
- Move the spirit level around the surface of the cookie stamp (like a clock hand) and check that the cookie stamp is sitting level in each position.
- Weigh out 240g (~8 ½ oz) of clear melt and pour soap base and cut it up into small cubes.
- Weigh out 60g (~2oz) of white melt and pour soap base and cut it up into small cubes.
- Put the soap cubes in a glass measuring jug and add another cube of each soap base (up to 5%) for wastage.
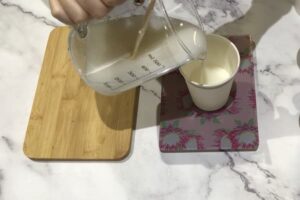
- Melt your soap base as per the instructions in a microwave or double boiler.
- Scent your soap with fragrance oils or essential oils.
- Weigh out a third (100g or 3 ½ oz) into an empty paper cup and add the soap colouring (ie green or red liquid soap colouring or pearl mica). Stir well with a bamboo skewer.
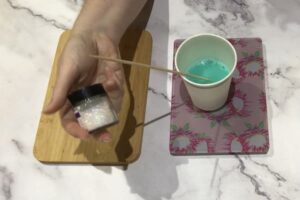
- Add holographic eco glitter (optional). Use only a tiny amount (dip the end of your skewer into the glitter and then stir it into the soap base).
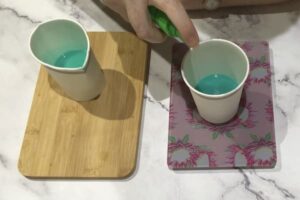
- Spray the surface of the soap with alcohol to remove any bubbles.
- Position a paper cup with a cookie stamp inside on a set of kitchen scales and press TARE.
- Spray the surface of the cookie stamp with alcohol.
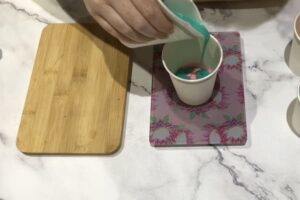
- Pour a small amount of soap into the cup until the base of the cookie stamp is just covered.
- Spray the surface of the soap with alcohol (this will help prevent small bubbles around the embossed design).
- Pour more soap base into the cup until the weight measures 50g (~1 ¾ oz).
- Spray the surface of the soap with alcohol to remove any bubbles.
- Move the cup to a safe place where the soap can set.
- Repeat Steps 14 - 20 and pour the remaining coloured soap into the paper cup.
- Position an empty paper cup on the set of kitchen scales and press TARE.
- Repeat Steps 11 - 22 for the remaining two colours.
- Set your soap aside to harden for 24-48 hours.
Demoulding the Soap
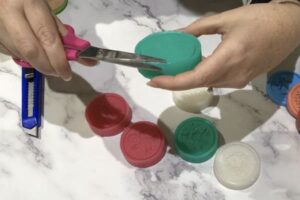
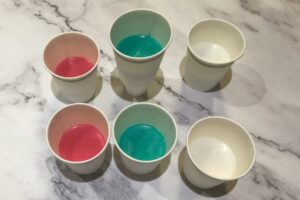
- Once the soap has set hard, use a pair of scissors to cut the paper cups and peel them away from the soap and cookie stamps.
- Gently bend and flex the silicone cookie stamp to ease it away from the surface of the soap. If your cookie stamp has the handle attached you may need to break the seal between the soap and the stamp with a knife or your finger nail (as you can’t bend the silicone).
- Cut off any frayed soap edges with a pair of scissors.