What are Epsom Salt Gems?
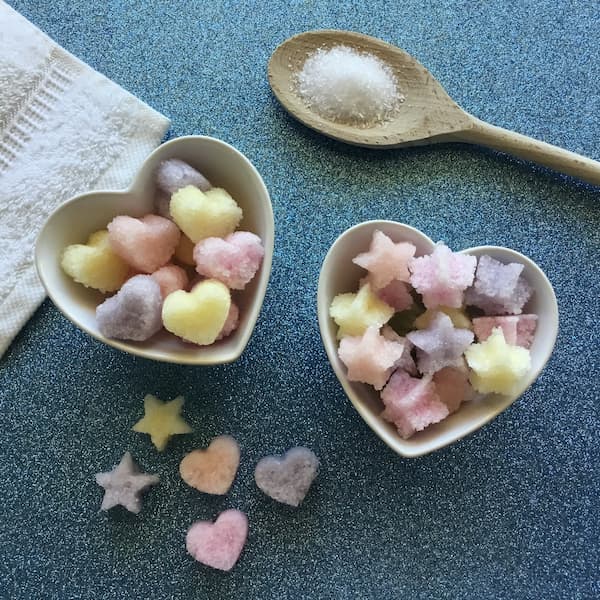
I’ve come up with this cute little twist on the traditional bath salts recipe – bath salt gems.
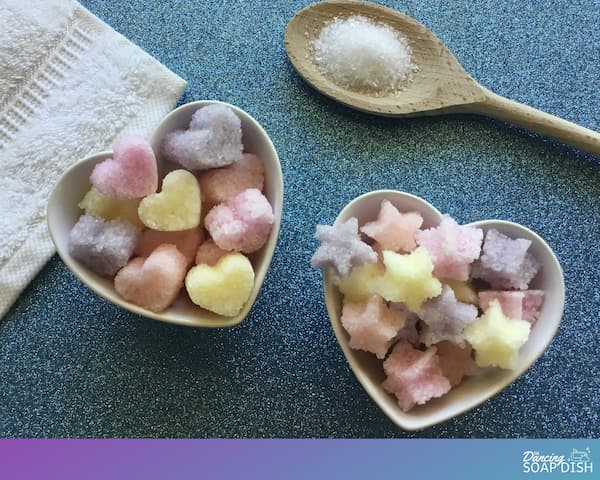
Take a basic bath salts recipe, add water, mould into shapes, and allow to dry – ridiculously simple! When they are completely dry they become rock hard. Use different shapes, colours and essential oils to make a beautiful selection, perfect for gift-giving.
This post contains affiliate links. If you buy something through one of those links, I will receive a small commission at no extra cost to you. As an Amazon Associate I earn from qualifying purchases.
Thank you for supporting my site!
Epsom Salt Gems Ingredients
The following ingredients and supplies are needed to make Epsom Salt Gems.
Epsom Salts
Epsom salts lie at the heart of every good bath salts recipe due to the many uses and benefits they have for our well-being.
If you have the time, I recommend using Coloured Epsom Salts as the base for this recipe. These are Epsom salts that have been pre-coloured and allowed to dry which definitely helps you control the moisture content of this recipe. It also helps create a more even and consistent colouring of your salt gems.
Baking Soda
Baking soda (or bi-carb soda) is the glue that’s gonna hold these cute little gems together. When testing this recipe I made it both with and without the baking soda and twelve months later those gems without baking soda have crumbled back into salt while the ones with baking soda are still holding together perfectly.
If your baking soda is lumpy, sift it as you add it to your mixture.
Essential Oils and a Carrier Oil
As this recipe uses essential oils, I have included a carrier oil for dilution purposes. Essential oils should always be diluted, especially in the bath (where they have access to all sorts of nooks and crannies they might not ordinarily have).
Common carrier oils include liquid (MCT) coconut oil, jojoba oil, sweet almond oil (beware of nut allergies if you are giving these bath salt gems as a gift), grapeseed oil, avocado oil, and the list goes on.
Water
To increase the storage longevity of your essential oil project, do not use water from the tap in the recipe. Instead I recommend distilled, demineralised, or water that has been boiled and then cooled. Alternatively rose water (also available from the supermarket) is a great idea (and will add to the beautiful scent of your bath salt gems).
Mixing Bowl and Spoon
You will require a mixing bowl and spoon to make this recipe. To be on the safe side, I recommend you use a non-plastic bowl and spoon for this activity as essential oils can quickly corrode some plastics. A glass, ceramic or stainless steel bowl and a metal spoon is the way to go.
Silicone Ice Tray
A silicone mould is a must for this recipe as you are required to turn your salt gems out before they are dry (rather than leave them to dry in the mould). A light tap on the silicone with your finger should easily dislodge your gem.
Turning them out helps them to dry much faster and allows any excess oil and water to drain away. Leaving your salt gems to dry in the mould requires a much longer dry time (like a week!) and you run the risk of breaking them when trying to turn them out.
Your selected silicone mould should have small cavities (about an inch across) and should be less than an inch deep (just like these). This will give you the best results.
Grease-Proof Paper Lined Tray
These Epsom salt gems need to stand for 48 hours to dry. You cannot touch them during this time as they are fragile when wet. Also some of the water and oil may leak out during the drying process. A baking tray is the perfect solution as you can then pick them up and move them to a safe place to dry. The grease-proof paper allows for easy clean-up once your project is finished.
Epsom Salt Gems Recipe
Want your Epsom Salt Gems to look like mine?
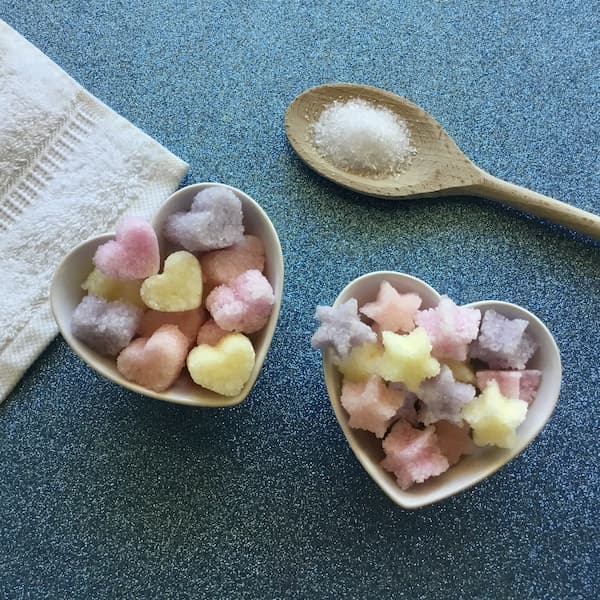
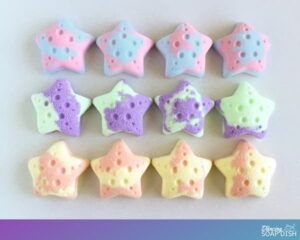
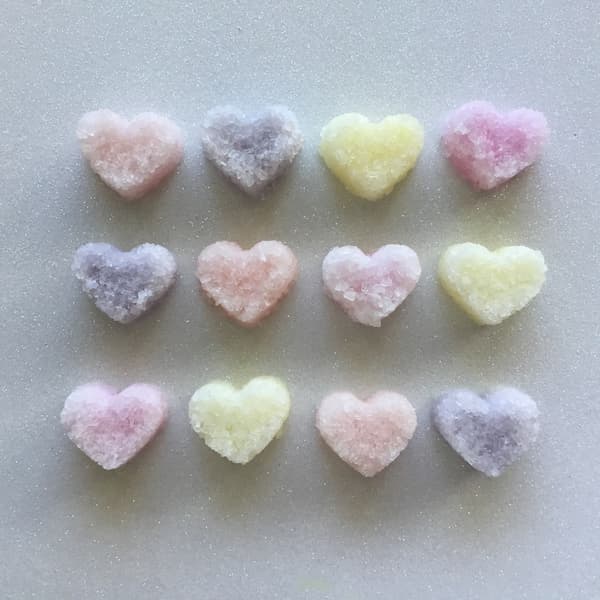
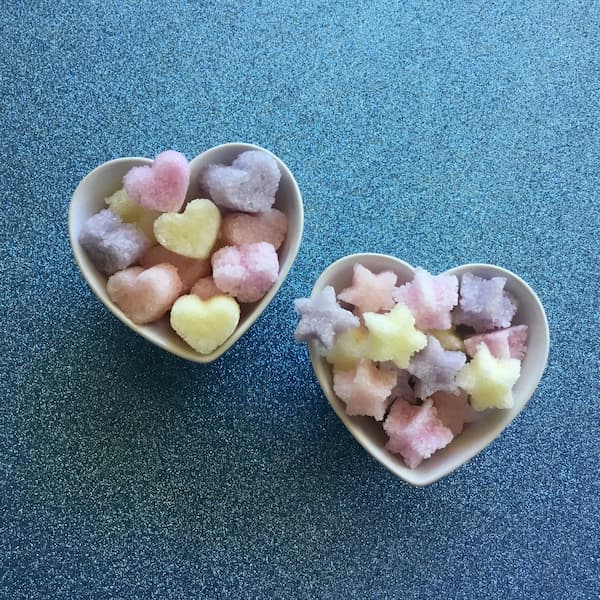
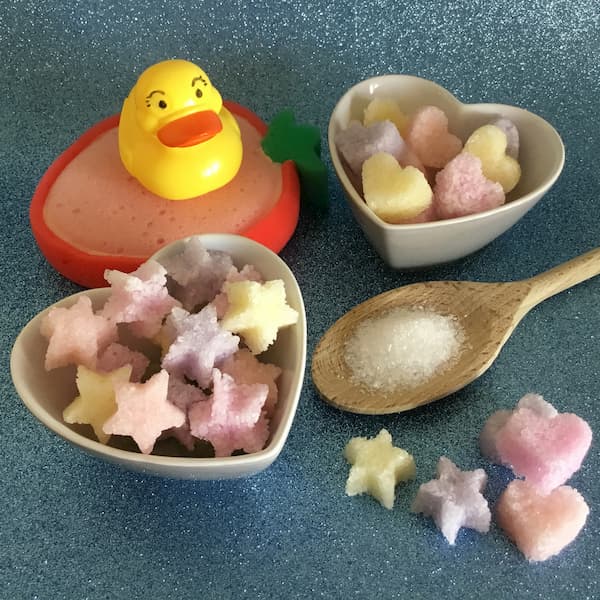
I made four batches of bath salt gems in four different colours. I used a heart-shaped silicone ice tray and a star-shaped silicone ice tray to make half the batch hearts and half the batch stars. Then I mixed all the different colours and shapes together.
Epsom Salt Gems
Equipment
- Glass, Ceramic or Metal Mixing Bowl and Spoon
- Silicone Ice Tray
- Tray lined with Grease-Proof Paper
Ingredients
- 1 cup Epsom Salt
- 1 tbsp Baking (Bi-Carb) Soda (Sifted)
- 1 tsp Carrier Oil
- 20 drops Essential Oil
- 1-4 drops Liquid Food Colouring
- 1-2 tsp Water (Only add second teaspoon if necessary)
Instructions
- Mix all ingredients in a glass or ceramic bowl. Your mixture should be wet, but not so wet that the salt starts to dissolve.
- Spoon mixture into one mould cavity of your silicone mould and press down with the back of a spoon. Turn out moulded mixture immediately onto grease proof paper-lined baking tray (start in the top left corner because once they are out you can't move them until they are dry).
- Repeat process until all the mixture has been used. Allow gems to dry for 48 hours, turning after 24 hours (try to avoid handling them before then as they are fragile when wet).
- Store them in a plastic zip lock bag or glass jar for colour and scent longevity or, if giving them as a gift, place them in a cellophane bag finished off with a pretty ribbon.
- To use, drop a whole handful of bath salt gems into a bucket of water for a relaxing foot soak, or dissolve the entire batch in a warm bath.
Notes
Epsom Salt Gems Troubleshooting Tips
If your salt cake does not remove easily from your mould, your salt mixture is too dry. Add (a tiny bit) more oil and try again.
If your salt cake starts to sag or lose its shape after being removed from the mould, your salt mixture is too wet. Add some more salt and try again.
How to Use Epsom Salt Gems
Store your Epsom salt gems in a plastic zip lock bag or glass jar for color and scent longevity or, if giving them as a gift, place them in a cellophane bag finished off with a pretty ribbon.
To use, drop a whole handful of bath salt gems into a bucket of water for a relaxing foot soak, or dissolve the entire batch in a warm bath.
Enjoy!