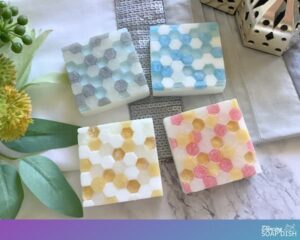
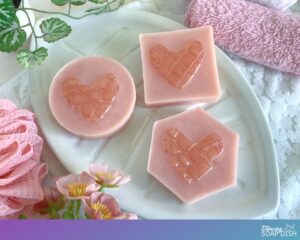
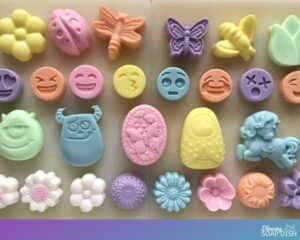
Embedding smaller soap bars within bigger soap bars is an easy way to make a truly impressive bar of soap. You’ll be surprised when you learn how simple it actually is to do.
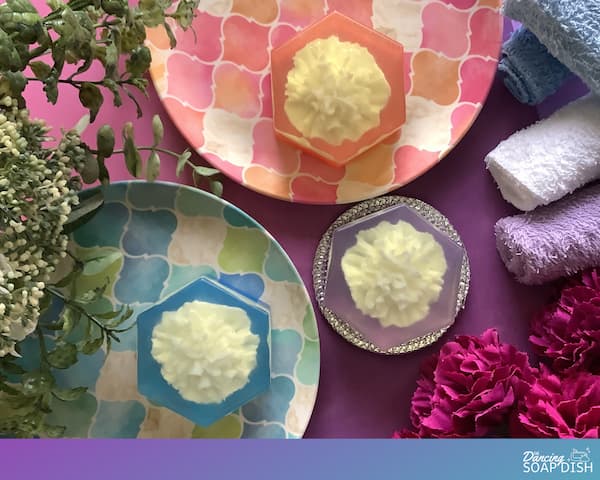
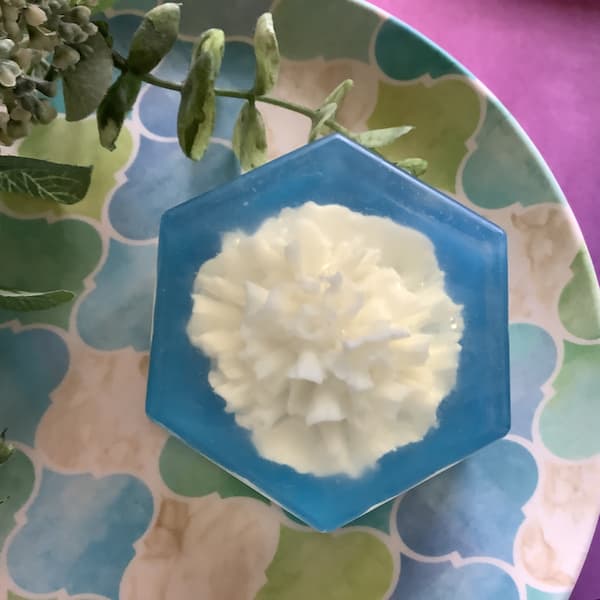
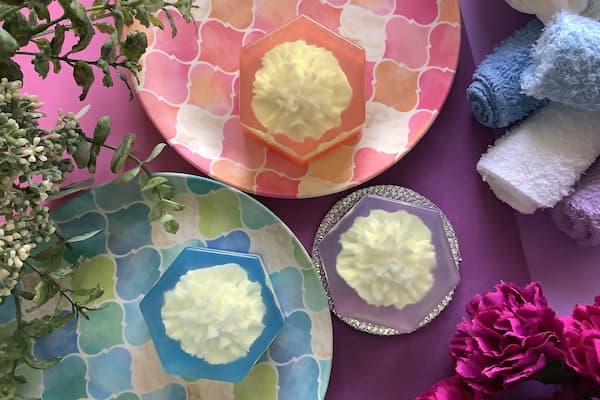
Take these stunning embedded carnation melt and pour soap bars for example. All that is required is a couple of soap moulds, some melt and pour soap base, and a little bit of patience.
This post contains affiliate links. If you buy something through one of those links, I will receive a small commission at no extra cost to you. As an Amazon Associate I earn from qualifying purchases.
Thank you for supporting my site!
What You Need to Make Embedded Carnation Melt and Pour Soap Bars
Melt and Pour Soap Base
Melt and pour soap is sold as large blocks that you can cut up and then weigh out the amount of soap you need. You will need two types of melt and pour soap base to make embedded carnation melt and pour soap bars, a clear base and a white base.
For this project, I used 100g of clear melt and pour soap base and 25g of white melt and pour soap base to make 1 bar of soap that weighed approximately 110g. The quantities listed above includes ~5% wastage.
Soap Moulds
To make an embedded melt and pour soap project you need at least two soap moulds – one for the embed and one for the main soap bar.
I used this deluxe Carnation Silicone Mould for the flower embed and a Hexagon Silicone Mould for the main bar, but you can use any flower or geomectric-shaped moulds as long as the embed will fit within the main bar of soap.
Soap Colouring
Technically you could make this bar of soap without any colouring, a white flower and a clear background would suffice. However I think the carnation flower stands out much better on a coloured background, so I used coloured mica to tint a thin background layer of soap.
Essential Oils or Fragrance Oils
Scenting your soap is optional, but most of us prefer a pretty smelling soap bar.
Some fragrance and essential oils can cause clear soap bases to go ‘coudy’ which means you may not be able to clearly see the carnation embed once your embedded carnation melt and pour soap bar has set.
For this reason you may want to leave your clear base unscented and only add fragrance to the flower embed and the coloured background layer.
For this project, I used a blend of Bergamot, Patchouli and Geranium essential oils at a ratio of 3:3:1, but you can feel free to use your favourite combination of essential oils or your preferred fragrance oil.
If you are looking for ideas, check out my list of perfect essential oil soap scents.
Small Glass Beaker
When attempting a project that requires only small amounts of soap base to be melted, it’s important to have the proper tools. I don’t recommend trying to melt 25g of soap base in a 500ml or 16oz jug. The soap will be spread too thin and will probably set before you are able to pour it, or even worse, burn. You can melt larger quantities to avoid this, but you will need to be able to pour it into another mould or it will end up going to waste.
So if you need to find a smaller vessel, a small sauce dish or pinch bowl can work, but a 50ml or 100ml glass beaker is better.
A small glass beaker allows you to melt small amounts of soap base without a large amount of wastage, plus beakers have a pouring spout which will give you more control over your pour than any small vessel without a spout.
Rubbing Alcohol or Vodka in a Small Spray Bottle
Spraying the soap with alcohol once it’s poured will remove any bubbles sitting on the soap’s surface. Spraying alcohol between soap layers helps them adhere together.
Additional Items Required
Kitchen Scales – I’ve used grams in this recipe because the amounts are easier to manage compared with ounces. Most kitchen scales these days are interchangeable between grams and ounces. Check your scale’s instruction booklet for how to change you scale to measure in grams and then change it back when finished.
Glass Measuring Jug – You will need a larger (500ml/16oz) measuring jug to melt the white clear melt and pour soap base. I have a separate glass measuring jug dedicated to creative projects (soap making, lotion bars, lip balm etc) to avoid any cross-contamination of non-ingestible ingredients with food. I recommend you do the same.
Metal or Bamboo Skewer – Skewers are super handy for stirring and can be easily cleaned or disposed of. A wooden popsicle stick or disposable spoon will also suffice.
Paper Towel – Make sure you have some paper towel on hand for cleaning up (there may be drips) and for resting your skewers on after stirring.
Tray or Bread Board – Positioning your soap moulds on a tray or bread board allows for easy transportation while the soap is still setting if necessary.
Microwave or Double Boiler – Melt your soap base in either a microwave or a double boiler.
How to Make Embedded Carnation Melt and Pour Soap Bars
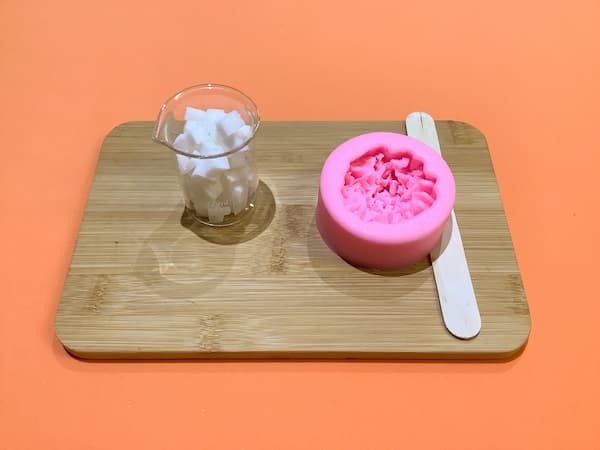
Weigh out your 25g of white soap base and cut it up into small cubes. Put it in a small glass beaker in a microwave or double boiler.
Position the carnation mould ready to be filled. Putting it on a tray or breadboard allows for easy transportation while the soap is still setting.
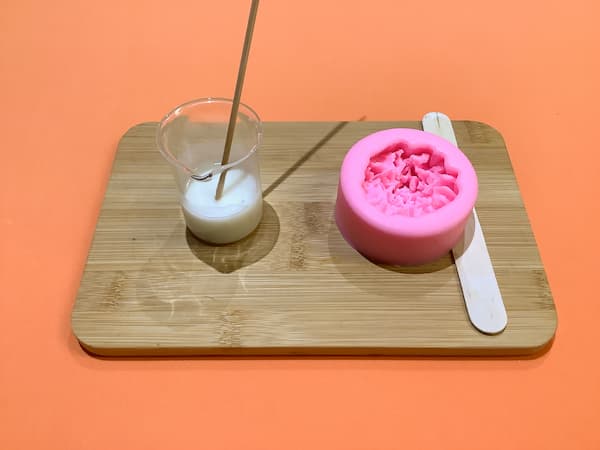
Melt your soap base as per the instructions. Add the soap scent (if applicable) and mix well.
Carefully pour your soap base into the carnation cavity. To limit air bubbles in your soap, bring the pouring spout down to touch the edge of the cavity so the soap runs down the wall of the cavity and slowly fills the mould.
Spray the surface of the soap with alcohol to get rid of surface bubbles.
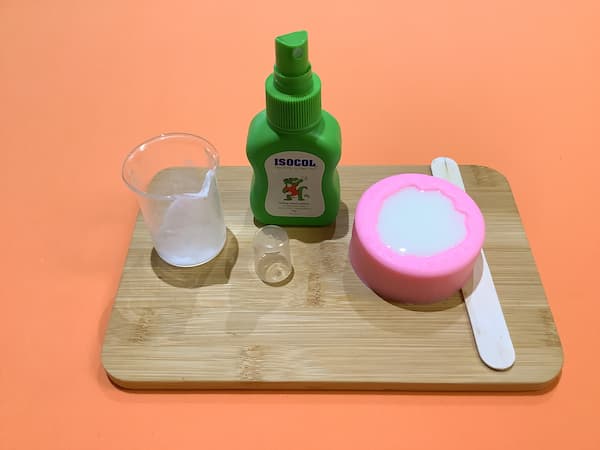
Let the soap set overnight (12hrs) and then peel back the silicone mould to release the carnation soap.
Weigh out 80g of clear soap base and cut it up into small cubes. Put it in a microwave safe jug or double boiler.
Position the hexagonal mould on a tray or breadboard, ready to be filled.
Melt your soap base as per the instructions. Add the soap scent (if applicable) and mix well.
NOTE: Some fragrance and essential oils can cause clear soap bases to go ‘coudy’ which means you may not be able to clearly see the carnation embed once your embedded carnation melt and pour soap bar has set. For this reason you may want to leave your clear base unscented.
Pour your melted soap base into the hexagonal mould. Spray the surface of the soap with alcohol to get rid of surface bubbles.
Allow the soap to cool for a minute or two, and then carefully place the carnation soap bar upside down in the centre of the hexagonal mould. Ensure the the carnation is sitting level with the layer of clear soap.
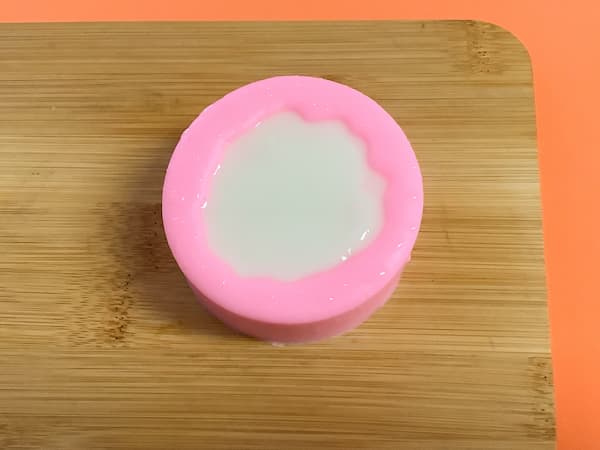
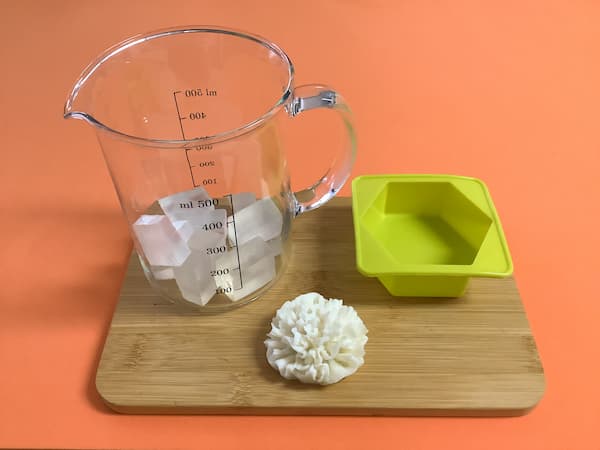
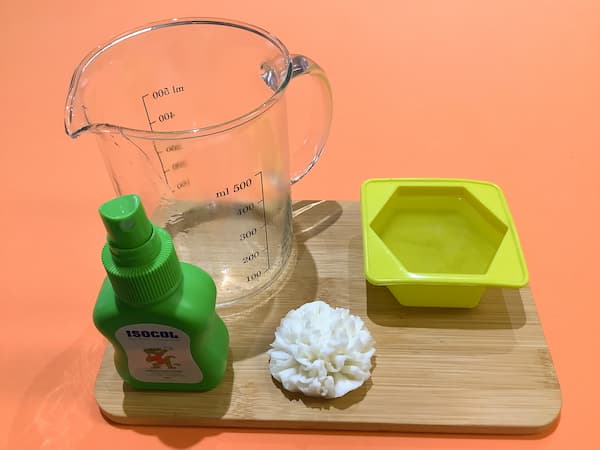
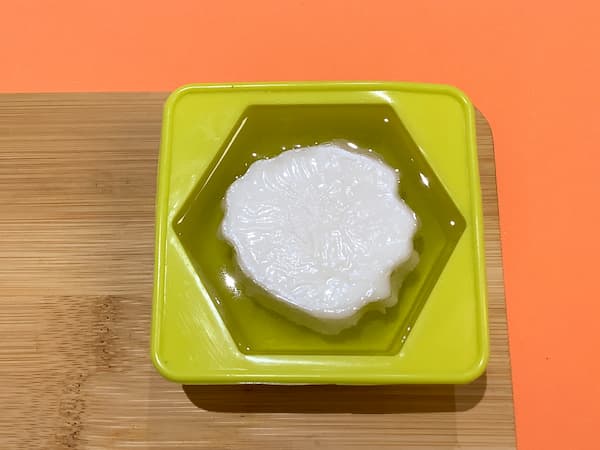
Set the soap aside to cool until the clear soap base has set solid (3hrs).
Weigh out the remaining 20g of clear soap base and cut it up into small cubes. Put it in a small glass beaker in a microwave or double boiler.
Position the hexagonal mould containing the clear soap base and the carnation embed on a tray or bread board, ready to be filled.
Melt your soap base as per the instructions. Add the soap colouring and soap scent (if applicable) and mix well.
Spray the surface of the existing solid soap in the hexagonal mould with alcohol. This will help the next layer you are about to pour adhere to the existing solid layer.
Pour the coloured, melted soap base into the hexagonal mould to the very rim. Avoid letting it overflow. Spray the surface of the soap with alcohol to get rid of surface bubbles.
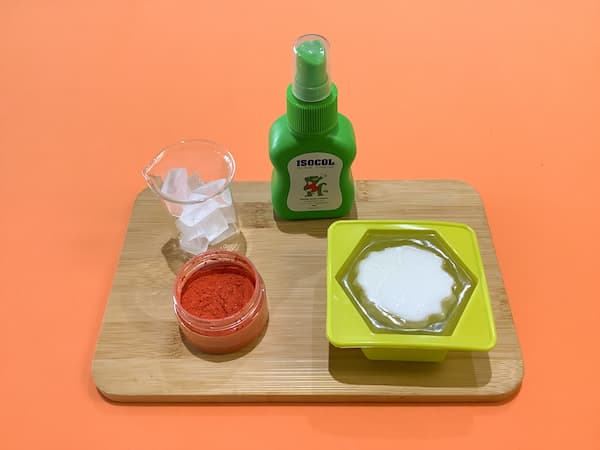
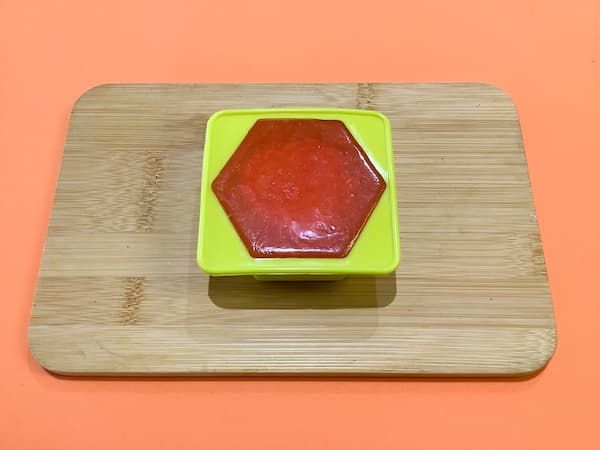
Set the soap aside for 24hours to set and harden.
Once set, peel back the hexagonal silicone mould to reveal you beautiful embedded carnation melt and pour soap bar.
Recipe Variations
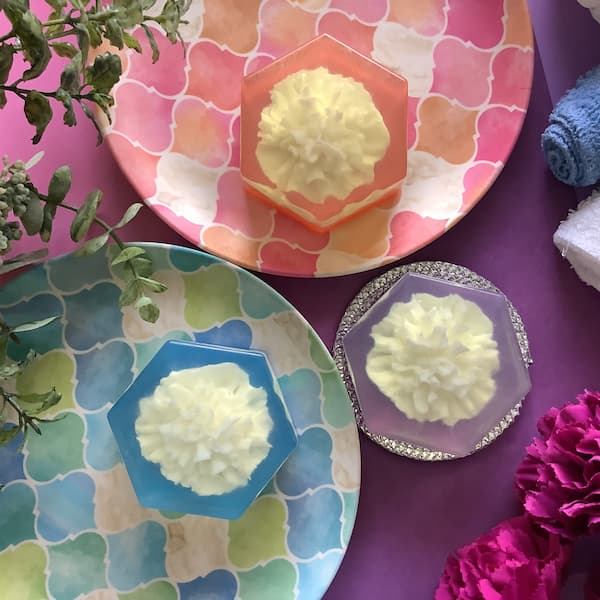
Why not try a different shaped mould or a different colour combination like these pink and orange carnations set against a white background in a circular mould.
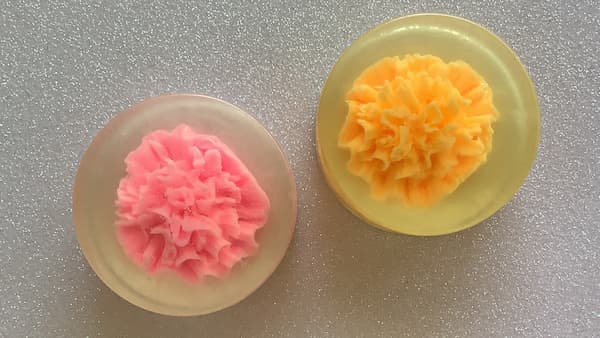
Printable Tutorial for Embedded Carnation Melt and Pour Soap Bars

Embedded Carnation Melt and Pour Soap Bars
Equipment
- Small Glass Beaker (25-100ml)
- Glass Measuring Jug
- Kitchen Scales
- Bamboo or Metal Skewer
- Alcohol in a Small Spray Bottle (rubbing alcohol, isopropyl or vodka)
- Paper Towel
- Tray or Bread Board
- Double Boiler or Microwave
Ingredients
- 25 g White Melt and Pour Soap Base
- 100 g Clear Melt and Pour Soap Base
- Soap Colouring (I used Mica Powder)
- Soap Fragrance or Essential Oils (optional)
- Carnation Soap Mould
- Hexagon Soap Mould
Instructions
- Weigh out your 25g of white soap base and cut it up into small cubes. Put it in a small glass beaker in a microwave or double boiler.
- Position the carnation mould ready to be filled. Putting it on a tray or breadboard allows for easy transportation while the soap is still setting.
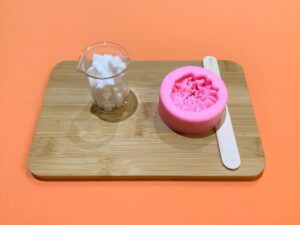
- Melt your soap base as per the instructions. Add the soap scent (if applicable) and mix well.
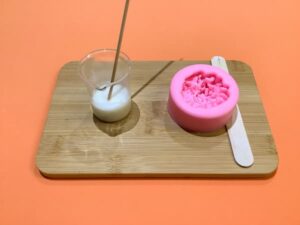
- Carefully pour your soap base into the carnation mould cavity. To limit air bubbles in your soap, bring the pouring spout down to touch the edge of the cavity so the soap runs down the wall of the cavity and slowly fills the mould.
- Spray the surface of the soap with alcohol to get rid of surface bubbles.
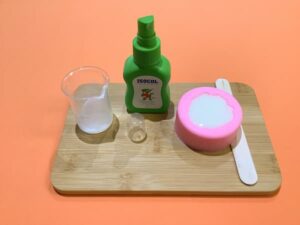
- Let the soap set overnight (12hrs) and then peel back the silicone mould to release the carnation soap.
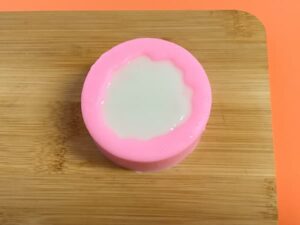
- Weigh out 80g of clear soap base and cut it up into small cubes. Put it in a microwave safe jug or double boiler.
- Position the hexagonal mould on a tray or breadboard, ready to be filled.
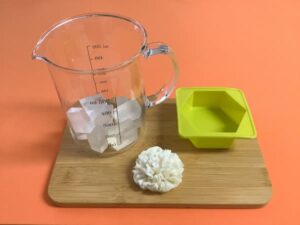
- Melt your soap base as per the instructions. Add the soap scent (if applicable) and mix well.
- Pour your melted soap base into the hexagonal mould. Spray the surface of the soap with alcohol to get rid of surface bubbles.
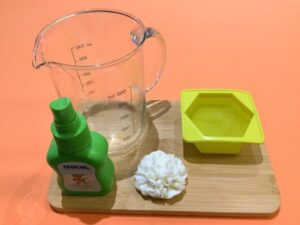
- Allow the soap to cool for a minute, and then carefully place the carnation soap bar upside down in the centre of the hexagonal mould. Ensure the the carnation is sitting level with the layer of clear soap.
- Set the soap aside to cool until the clear soap base has set solid (3hrs).
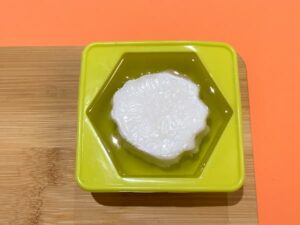
- Weigh out the remaining 20g of clear soap base and cut it up into small cubes. Put it in a small glass beaker in a microwave or double boiler.
- Position the hexagonal mould containing the clear soap base and the carnation embed on a tray or bread board, ready to be filled.
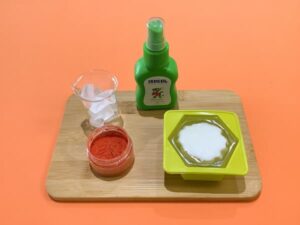
- Melt your soap base as per the instructions. Add the soap colouring and soap scent (if applicable) and mix well.
- Spray the surface of the existing solid soap in the hexagonal mould with alcohol. This will help the next layer you are about to pour adhere to the existing solid layer.
- Pour the coloured, melted soap base into the hexagonal mould to the very rim. Avoid letting it overflow. Spray the surface of the soap with alcohol to get rid of surface bubbles.
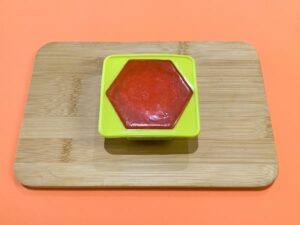
- Set the soap aside for 24hours to set and harden.
- Once set, peel back the hexagonal silicone mould to reveal you beautiful embedded carnation melt and pour soap bar.
Notes
Enjoy!

