Plaster of Paris fridge magnets are a great school holiday activity to do with the kids.
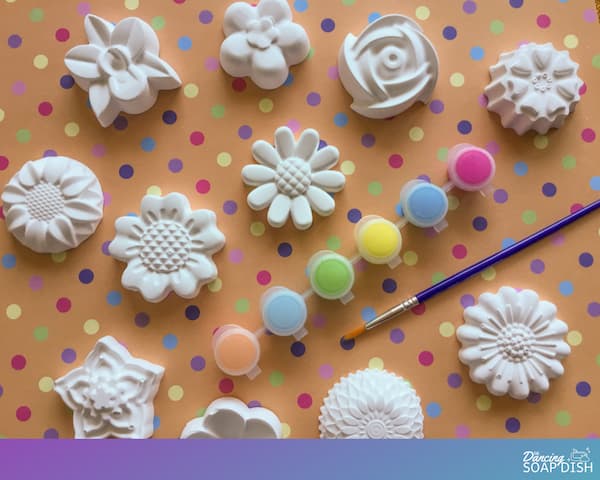
These floral fridge magnets are a great example.
They are super simple to make yet require a range of actions, such as mixing, pouring, painting and gluing, to give the kids some really good practice at those fine motor skills.
Once they are finished you have a number of beautiful and functional works of art to adorn your refrigerator or magnetic notice board.
This post contains affiliate links. If you buy something through one of those links, I will receive a small commission at no extra cost to you. As an Amazon Associate I earn from qualifying purchases.
Thank you for supporting my site!
What You Need to Make Plaster of Paris Floral Fridge Magnets
Plaster of Paris
Plaster of Paris is a fine, white powder that sets rock hard when mixed with water and poured into a mould. It is suitable for many crafts such as casting, moulding, modelling, sculpting, carving, and in this case, floral fridge magnets.
Water
Water is required to mix with and activate plaster of Paris. Prepare your wet plaster mixture as per the directions that come with the plaster of Paris.
If there are no directions, then a general rule of thumb is to mix plaster and water at a ratio of 2 parts powder to 1 part water.
It’s also easier to mix if you add the plaster of Paris to the water one spoonful at a time, rather than try and stir water into plaster powder.
Related
Where to Buy Cute and Affordable Soap Moulds
Lavender, Litsea & Geranium Essential Oil Lotion Bars
How to Make AromaTouch Bath Bombs
Silicone Moulds
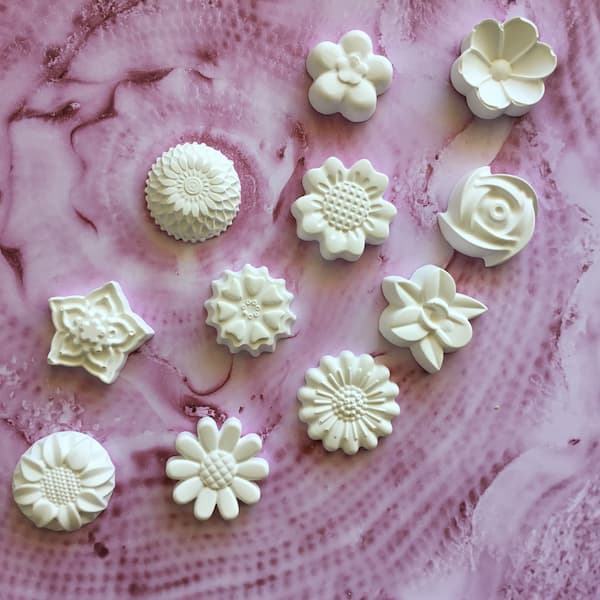
Silicone flower baking cups (about 2″ or 5cm in diameter) are the perfect size for plaster fridge magnets and come in a variety of designs such as roses, plum blossoms, or assorted flower shapes.
Australian readers can purchase 5cm silicone flower moulds from our partner Mouldtastic.
Acrylic Paint and Paint Brushes
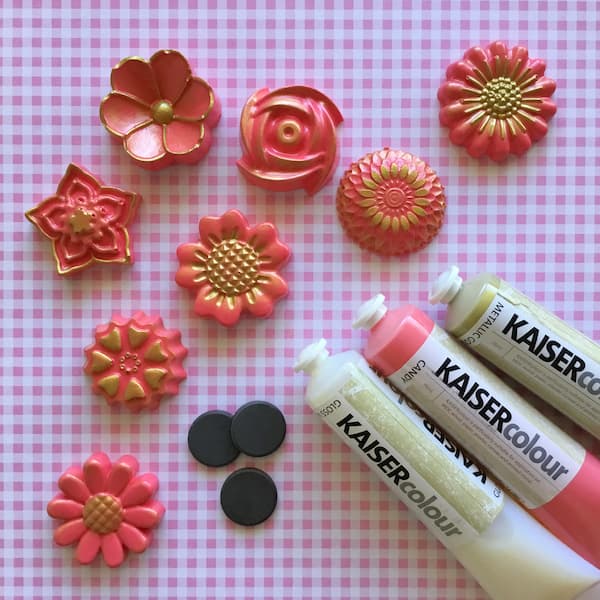
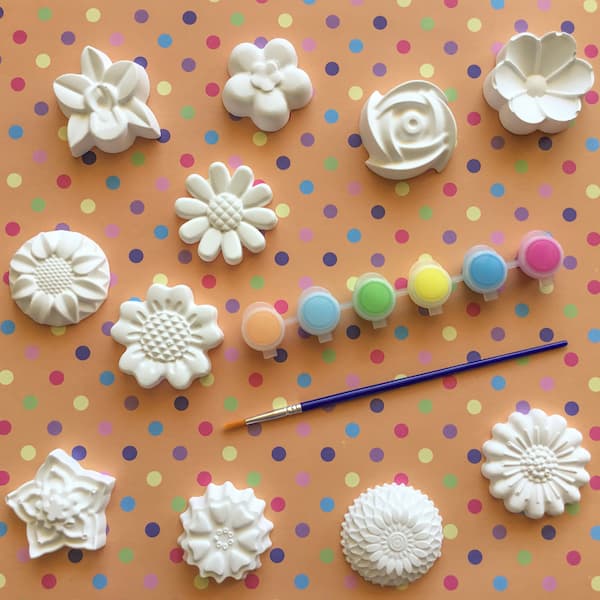
I used some acrylic craft paint and paint brushes I already had on hand to decorate my floral fridge magnets, but if you don’t have any, consider buying an acrylic paint set. I also used gold paint as a highlight and coated my floral fridge magnets with a clear varnish for a glossy finish.
Craft Magnets
Small, circular ceramic magnets for arts and crafts projects are available from craft stores and online suppliers. You’ll need one for each of your floral fridge magnets.
Additional Items Required
Kitchen Scales – You’ll need some kitchen scales to measure out an appropriate amount of plaster of Paris. I’ve used grams in this recipe because the amounts are easier to manage compared with ounces. Most kitchen scales these days are interchangeable between grams and ounces. Check your scale’s instruction booklet for how to change you scale to measure in grams and then change it back when finished.
Old Plastic Container and Disposable Spoon – It’s best to use disposable objects to mix plaster of Paris. An old plastic food container, for example an ice cream tub, is ideal. You will also need a disposable spoon or popsicle stick for stirring.
Craft Glue or Glue Gun – Pushing a magnet into the back of wet plaster of Paris does not mean it’s going to stick once the plaster is dry. Plaster isn’t adhesive like that. So you’ll also need some craft glue or a glue gun to stick a magnet to the back of your plaster flower.
Tray or Bread Board – Positioning your moulds on a tray or bread board allows for easy transportation while the plaster is still setting if necessary.
How to Make Floral Fridge Magnets
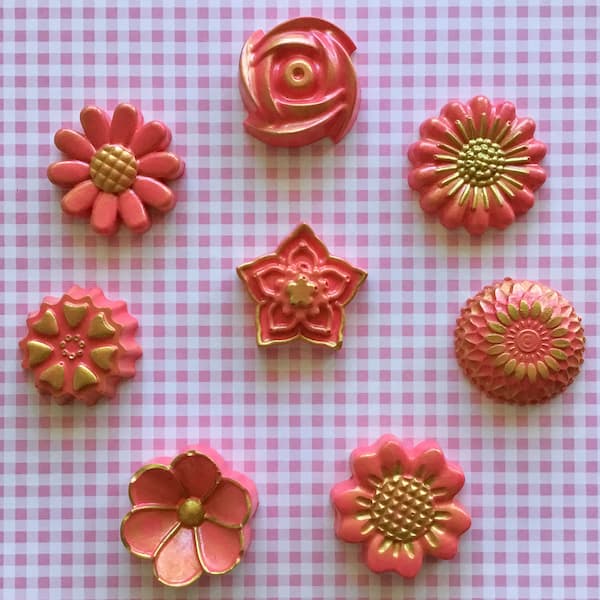
Want your floral frige magnets to look like mine?
I filled silicone flower baking cups halfway with plaster of paris and, once dry, painted them with pink and gold acrylic paint.
I gave them a coat of clear gloss varnish and glued a craft magnet to the back.
Printable Tutorial for Floral Fridge Magnets

Floral Fridge Magnets
Equipment
- Kitchen Scales
- Mixing Bowl and Spoon
- Graft Glue or Glue Gun
- Tray or Bread Board
Ingredients
- Plaster of Paris
- Water
- Silicone Moulds
- Acrylic Paint and Paint Brushes
- Craft Magnets
Instructions
- Measure out 25g of Plaster of Paris for each silicone mould you are going to fill, then add 10% for wastage.
- Prepare the Plaster of Paris as per the packet instructions in a disposable container and mix with a disposable spoon.
- Lay out your silicone moulds on a tray or bread board (if using).
- Fill your silicone moulds to the halfway point (it doesn’t have to be perfect, just eyeball it).
- Set your plaster-filled moulds aside to set.
- When the plaster is dry, peel back the silicone moulds to release your plaster flowers.
- Paint and decorate your plaster flowers as desired
- Glue a craft magnet to the back of each flower.
- Give the glue at least 24 hours to harden and then you can stick your floral plaster magnets to your fridge.
Notes
Enjoy!

