Mother’s Day is fast approaching and this year it’s going to be one like no other due to COVID-19.
For those of us (yep, I’m raising my hand here) who take for granted the opportunity to visit our Mums for Mother’s Day each year, let us be deeply grateful for the video chat or phone call that must replace a visit, and remember those who no longer have that pleasure.
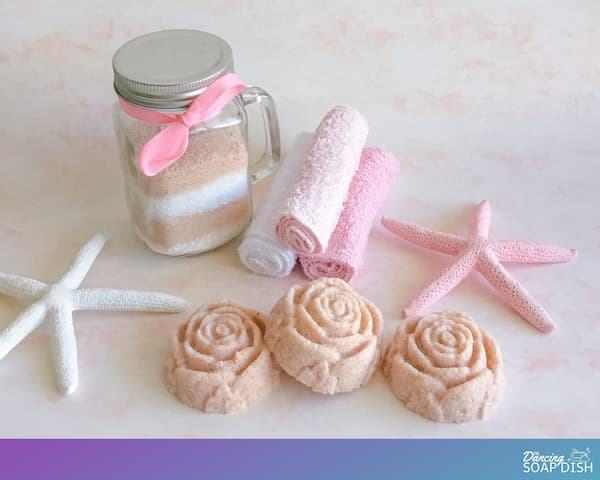
Since you may not be able to travel far (or even leave the house at all!) to find a Mother’s Day gift this year, I’ve come up with this handy solution you can make from ingredients you may already have on hand. And if not, they can be easily picked up from the grocery store.
This post contains affiliate links. If you buy something through one of those links, I will receive a small commission at no extra cost to you. As an Amazon Associate I earn from qualifying purchases.
Thank you for supporting my site!
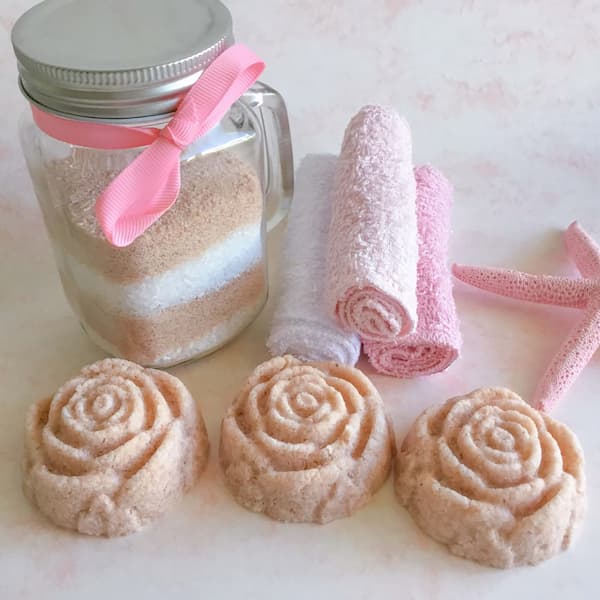
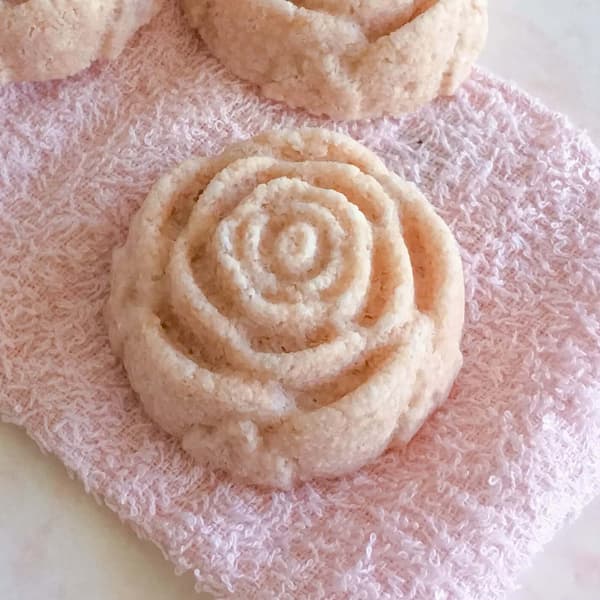
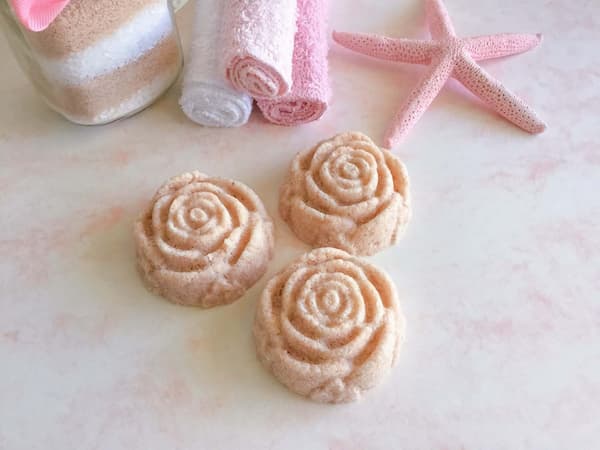
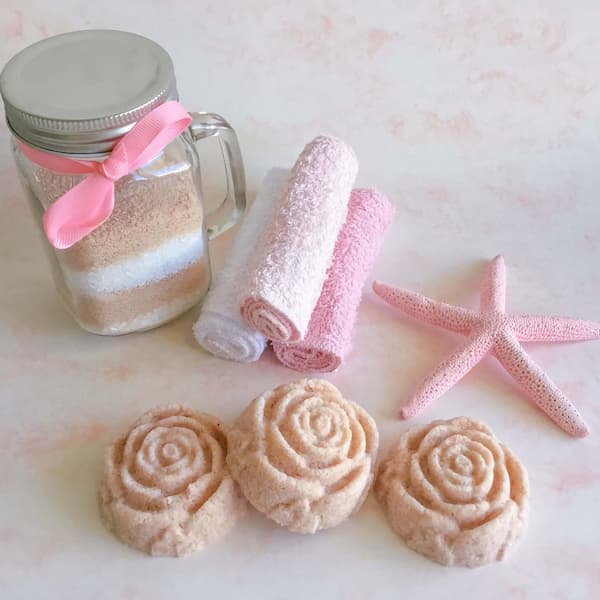
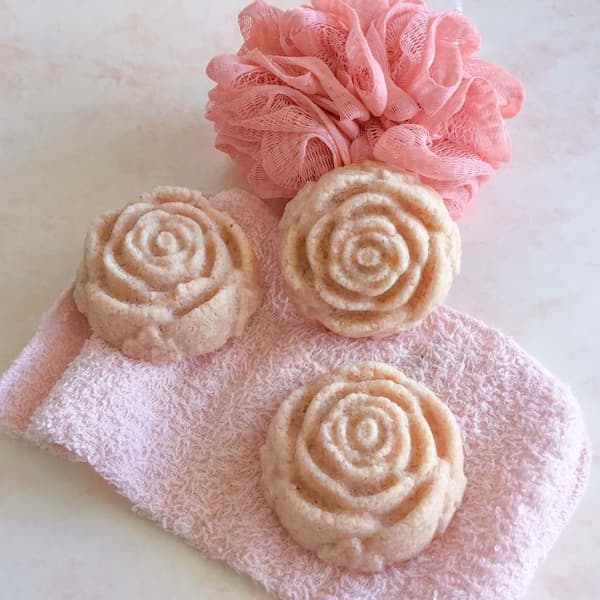
What is it? You ask. Why it’s these beautiful rose bath salt cakes.
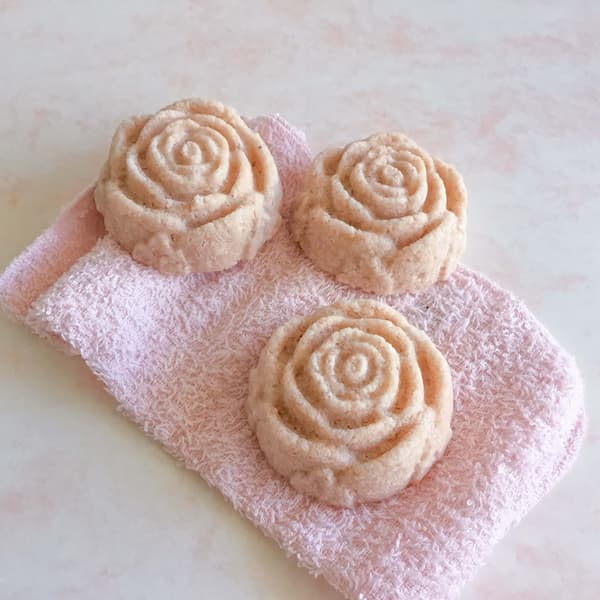
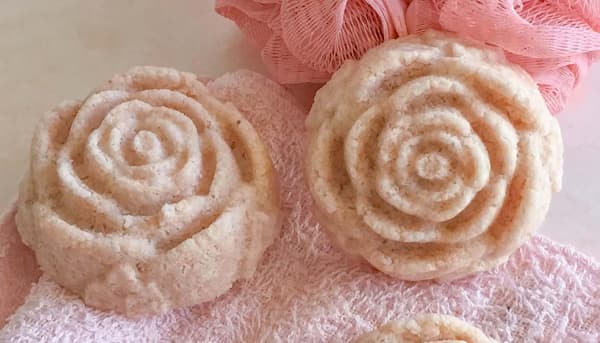
What’s a bath salt cake? Well, it’s bath salts with a tiny bit of water added so you can compress the salts into a basic shape.
In this case I’ve used bath salts containing pink Himalayan salt and a rose-shaped soap mould to create cute little pink roses – just perfect for Mum!
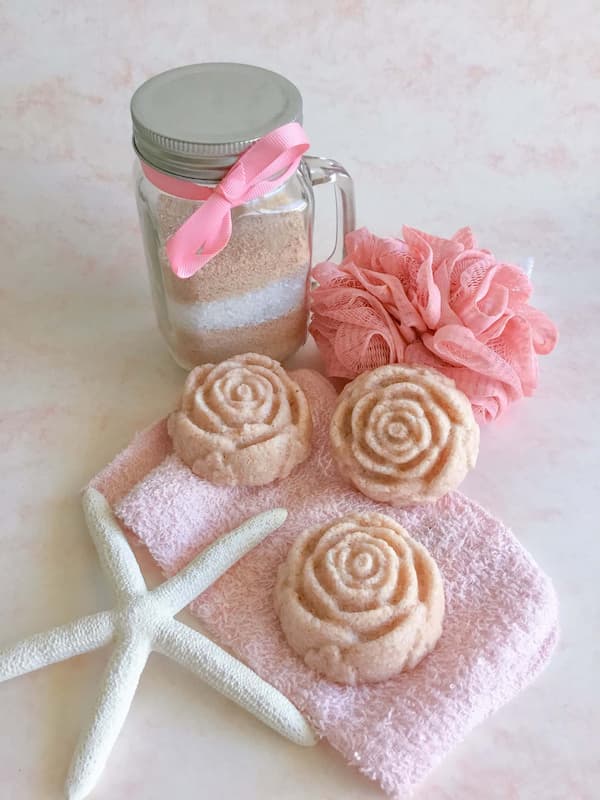
Gather Your Supplies to Make Rose Bath Salt Cakes
Epsom Salts
Epsom salts lie at the heart of every good bath salts recipe due to the many uses and benefits they have for our well-being.
Pink Himalayan Salt
Pink Himalayan salt is another popular addition to bath salts recipes due to the large amount of minerals it contains. In this recipe I’ve used a fine-grain salt. It also acts as the gorgeous light pink colouring for these bath salt cakes.
Baking Soda
Baking soda (or bi-carb soda) is a common ingredient in bath salts due to its health benefits when used in a bath.
It’s also the glue that’s gonna hold these cute little cakes together. If you leave it out your cakes will still hold together initially, but sometime in the future they will crumble back into salt.
If your baking soda is lumpy, sift it as you add it to your mixture.
Carrier Oil
As this recipe uses essential oils, I have included a carrier oil for dilution purposes. Essential oils should always be diluted, especially in the bath (where they have access to all sorts of nooks and crannies they might not ordinarily have).
Common carrier oils include fractionated or liquid coconut oil, jojoba oil, sweet almond oil (beware of nut allergies if you are giving these bath salt cakes as a gift), grapeseed oil, avocado oil, and the list goes on.
Essential Oils
This recipe calls for a 1/4 teaspoon of pre-diluted essential oil. This means essential oils suspended in a carrier oil at the approved dilution rate for that particular essential oil (dilution rates can vary but the standard is 3%).
Which essential oils should you use? Well, Mum’s favourite blends of course!
If you’re looking for suggestions then my tip is to find a diffuser blend Mum likes and then safely dilute it with a carrier oil to fit this recipe.
You can find some Mother’s Day essential oil blend suggestions here.
Water
To increase the storage longevity of your essential oil project, do not use water from the tap in the recipe. This can lead to mould growth. Instead I recommend distilled, de-mineralized, or water that has been boiled and then cooled. Alternatively rose water (also available from the supermarket) is a great idea (and will add to the beautiful scent of your bath salt cakes).
Rose Silicone Mould
This rose-shaped silicone mould will help you make beautiful bath salt roses. But if you can’t get your hands on one, never fear, you can use any other floral-shaped mould you happen to have on hand, or even a flower-shaped cookie cutter.
Additional Items Required
Mixing Bowl and Spoon – You will require a mixing bowl and spoon to make this recipe. To be on the safe side, I recommend you use a non-plastic bowl and spoon for this activity as essential oils can quickly corrode some plastics. A glass, ceramic or stainless steel bowl and a metal spoon is the way to go.
Tray Lined With Parchment Paper – These bath salt cakes need to stand for 24+ hours to dry. You cannot touch them during this time as they are fragile when wet. Also some of the water and oil may leak out during the drying process. A baking tray or serving tray lined with parchment paper is the perfect solution as you can then pick them up and move them to a safe place to dry. The parchment paper will protect your tray from oil and water and also allows for easy clean-up once your project is finished.
Rose Bath Salt Cakes Video Tutorial
To make it easier for you to grasp the process, I created a video tutorial about how to make rose bath salt cakes.
Printable Recipe for Bath Salt Roses
Want yours to look like mine?
I used this rose-shaped silicone mould to shape my Epsom salt, pink Himalayan salt and baking soda bath salt cakes. Here’s my recipe.

Bath Salt Roses
Equipment
- Glass, Ceramic or Metal Mixing Bowl and Spoon
- Tray lined with Parchment Paper
Ingredients
- 1/3 Cup Epsom Salt
- 1/3 Cup Fine Pink Himalayan Salt
- 1/3 Cup Baking (Bi-Carb) Soda Sifted
- 1 Tsp Carrier Oil
- 1/4 Tsp Pre-Diluted Essential Oils or Fragrance Oil
- 2 Tsp Water*
- 1 Each Rose-Shaped Silicone Mould
Instructions
- Add Epsom salts, pink Himalayan salt, and sifted baking soda into a non-plastic bowl and mix well. Add carrier oil, essential oils and water*, and then stir until fully incorporated. Your mixture should be damp but not so soggy that the salt starts to dissolve.
- Spoon some salt mixture into one cavity of your rose-shaped mould and use your fingers to push it down firmly into the details of the mould. Keep filling the remainder of the cavity until it's full and pack your mixture down level with the rim of the mould (don't force too much of the mixture in or your mould may be misshapen).
- Slowly and carefully turn your mould over and turn out your salt cake out onto the top left of your parchment paper-lined tray. Tapping the back of the mould with the length of your index finger will help your salt cake release, as well as lightly squeezing the edges of the mould as you lift it away.
- Repeat steps 1-3 until all of your Epsom salt mixture is gone.
- Set your salt cakes aside to dry for 12-24 hours.
Directions for Use
- To use, lay all of your cakes in the base of your bath tub (or 1-2 cakes in a bucket for a relaxing foot soak) and fill with water. Swirl your arm through the water to break up the cakes and help the salts dissolve. Then hop in and relax.To give as a gift, place salt cakes in a cellophane bag and tie off with a pretty ribbon.
Notes
Directions for Use
To use, lay all of your cakes in the base of your bath tub (or 1-2 cakes in a bucket for a relaxing foot soak) and fill with water. Swirl your arm through the water to break up the cakes and help the salts dissolve. Then hop in and relax.
To give as a gift, place salt cakes in a cellophane bag and tie off with a pretty ribbon.
Store your bath salt cakes in a plastic zip-lock bag to maintain the scent for the longest possible time.
Trouble Shooting Tips
If your salt cake crumbles out of the mould, your salt mixture is too dry or you haven’t compressed the mixture tightly enough into the mould. Try pressing it down harder, or add a small amount of water or carrier oil and try again.
If your salt cake does not remove at all from your mould, your mixture is too wet. Add some more salt and try again.
Enjoy!


This looks so good! What a great gift to make for friends or to enjoy yourself!
Thanks for sharing! How far ahead of time can I make them?