
It was my son’s birthday this week and, like many Mums, I wanted to make something he could take to kindy and share with his class-mates to celebrate the occasion.
Cup cakes are always a popular choice, but my son isn’t interested in cake, or cookies, or lolly bags, or a whole host of common party favours that delight other children his age.
You see, my son has Autism.
His sensory sensitivities are evident in his picky eating, his dislike of loud places, and the fact that he has never taken a shower in his entire life.
There are movements, lights, colours, sounds, smells and tastes he avoids, but at the same time, there are others he craves.
It being his birthday and all, I wanted to send him off to kindy with something that he enjoys and would be excited to share with the other kids in his class.
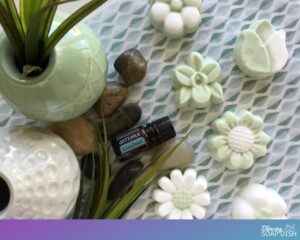
The answer wasn’t hard to find – bath bombs.
My son loooves bath bombs. I mean, think about it, they are a sensory symphony of sound, colour, smell and movement.
Now to tackle the logistics of transporting 22 super-fragile bath bombs to a kindergarten. No problem!
Enter the humble fruit cup.
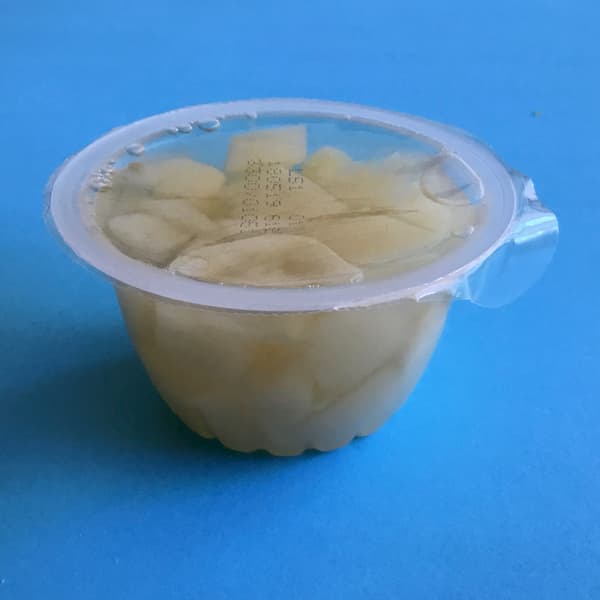
If you’re packing school lunches on a regular basis then there’s a good chance you have a couple of these in your pantry.
Instead of throwing the empty cups in the recycling bin (or worse, the trash!), I decided to ‘up-cycle’ them into bath bomb moulds.
I saved up empty cups from school lunches over a number of weeks. I made my bath bombs (24 in all – whew!) a week in advance, and then I packed the bath bombs (still in their cups) in a cardboard box to transport them to kindy. They weren’t popped out of the cups and given to each child until they were ready for immediate use.
This kept the whole process super simple for a busy Mum, a super accommodating Kindy Teacher, and a class of curious Kindergarteners.
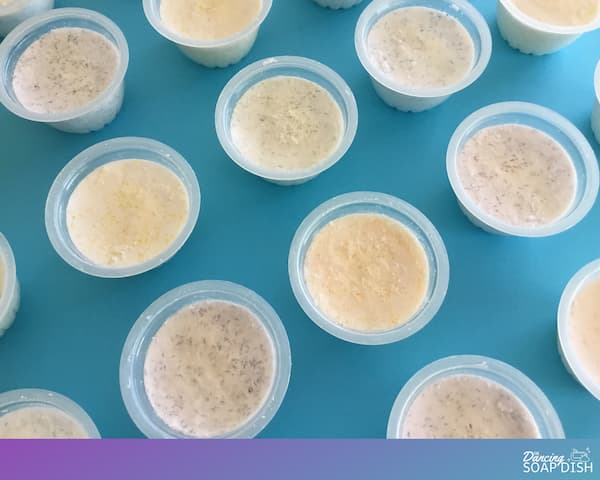
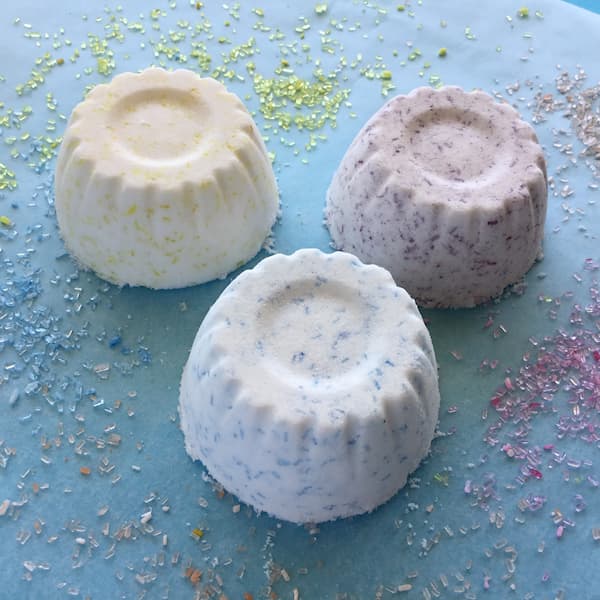
Fruit Cup Bath Bombs with a Hidden Colour Surprise!
As I wanted my bath bombs to provide maximum sensory stimulation I decided to give them some hidden colour that would be revealed as the bath bomb melts. So I made some coloured ‘pellets’ that I hid in the centre of the bath bombs as I filled the cups.
I also added a tablespoon of coloured Epsom salts to each bath bomb as a decorative feature. It was super easy and made them extra fun!
Supplies Needed to Make Fruit Cup Bath Bombs
What you need
Hidden Colour Centres
- ¼ Cup Bi-carb (Baking) Soda
- ¼ Cup Citric Acid
- ¼ tsp Natural Liquid Food Colouring*
- Small Ice Tray
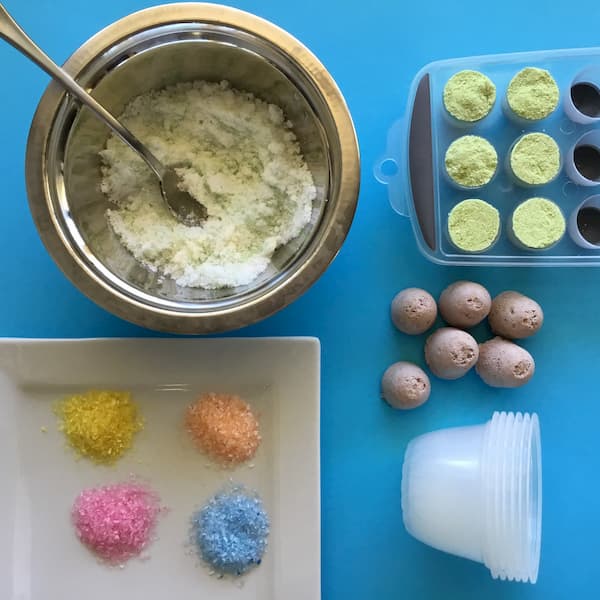
Bath Bombs
- 320g Bi-carb (Baking) Soda
- 160g Citric Acid
- 20ml Liquid/Fractionated Coconut Oil
- 20 Drops Essential Oil
- 6 tbsp Coloured Epsom Salts (in a range of colours) (optional)
- 6 Empty Plastic Fruit Cups
- Kitchen Scales
Method
Hidden Colour Centres
Wearing Gloves is Recommended
Sift bi-carb soda and citric acid into a bowl. Add food colouring and mix until colour is fully combined. Press into ice mould (I filled 12 holes in my ice tray) and set aside to dry for 48 hours.
Bath Bombs
Wearing gloves is recommended. If making multiple batches at a time, wearing a dust mask is also recommended.
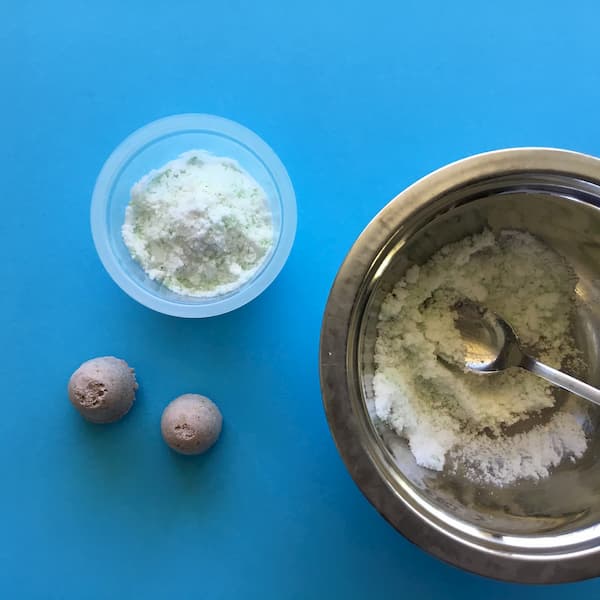
Sift the bi-carb soda and citric acid into a bowl and mix well. Add coconut oil and essential oils. Use your hands to combine the mixture, rubbing it between your fingers to evenly disperse the wet ingredients. You’ll know your mixture is ready when it sticks together/packs down and can keep its shape. It will still look kind of dry, but if you take a handful of the mixture and squeeze it, it should pack easily into a ball. If your mixture is too dry add a few more drops of coconut oil and mix again.
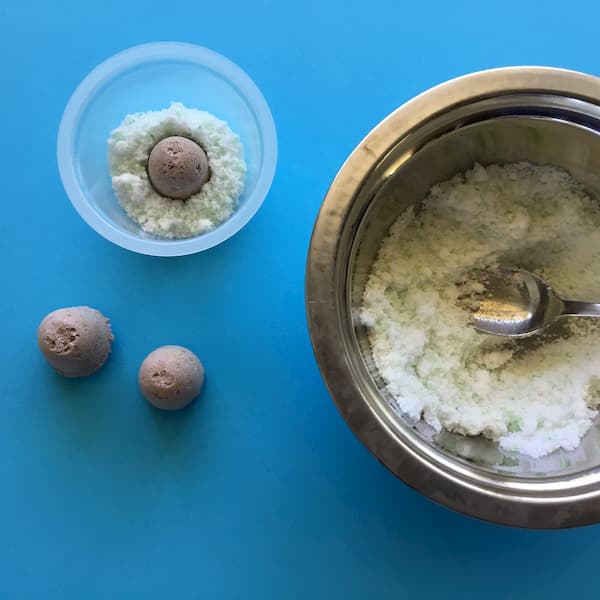
Once you get the correct consistency, weigh out 80g of mixture into a separate bowl. Add 1tbsp of coloured Epsom salts and mix well.
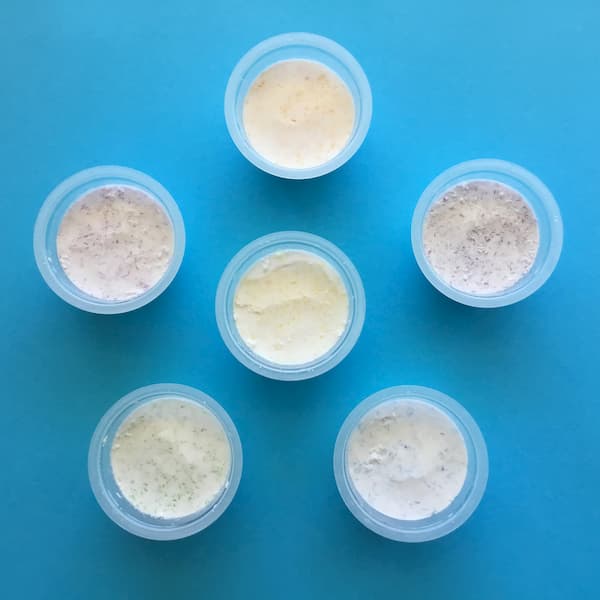
Now grab a fruit cup and place a couple of spoonfuls of mixture in it. Push the mixture down firmly to cover the bottom of the cup, and then place a hidden colour centre on top. Continue to fill your cups, pushing down the mixture around the hidden colour centre compacting it into place. Compaction is an important step as it may mean the difference between hard or crumbly bath bombs once they are dry.
Once your cup is full of mixture, smooth out the top of your bath bomb with the back of a teaspoon. Set the bath bombs aside to air dry for 24-72 hours. If humidity is high at the time you make your bath bombs, consider drying your bath bombs in the oven on the lowest setting with the fan on for an hour or so.
This recipe makes six bath bombs.
Bath bombs are fragile so I suggest leaving them in their cups until you want to use them. This will also make them easier to transport and store.
To use, drop a bath bomb into a bath, bucket of water, or foot spa for a foot soak.
Enjoy!
* I really want to emphasize that I believe it is important to use natural colourings whenever possible. If your child has a reaction to colourings in foods, such a reaction can also occur when colourings are used in a bath.

