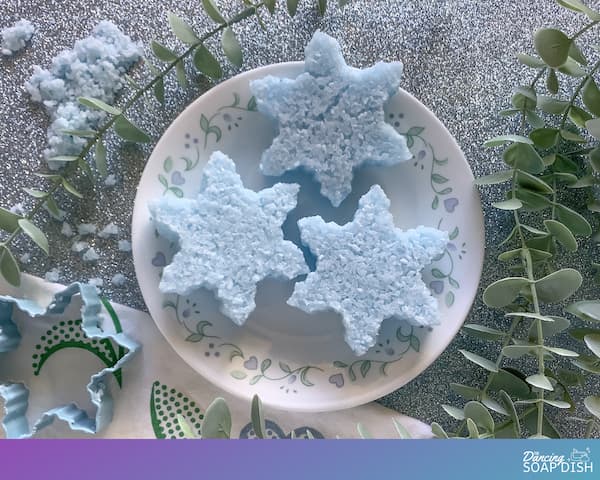
This recipe combines the benefits of an Epsom salt bath with the calming benefits of essential oils (and there’s also a little bit of sensory play thrown in for good measure). Let’s make some bath salt cakes.
This post contains affiliate links. If you buy something through one of those links, I will receive a small commission at no extra cost to you. As an Amazon Associate I earn from qualifying purchases.
Thank you for supporting my site!
Table of Contents
What are Bath Salt Cakes
What You Need to Make Bath Salt Cakes
Basic Bath Salt Cakes Video Tutorial
Basic Bath Salt Cakes Instructions and Printable Tutorial
What are Bath Salt Cakes?
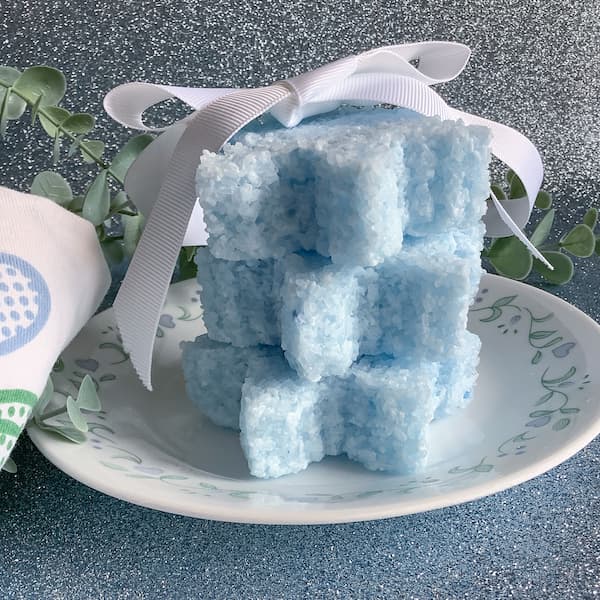
Bath Salt Cakes, also known as Epsom salt cakes, are bath salts with a tiny bit of water and baking soda added so you can compress the salts into a basic shape.
Do your bath salts clump together or turn rock-hard in the packet? Why not use this to your advantage?
I mean, if they’re going to clump anyway, they may as well be clumped into a beautiful shape. Then they can be stored easily, or even used as a decorative feature in your bathroom.
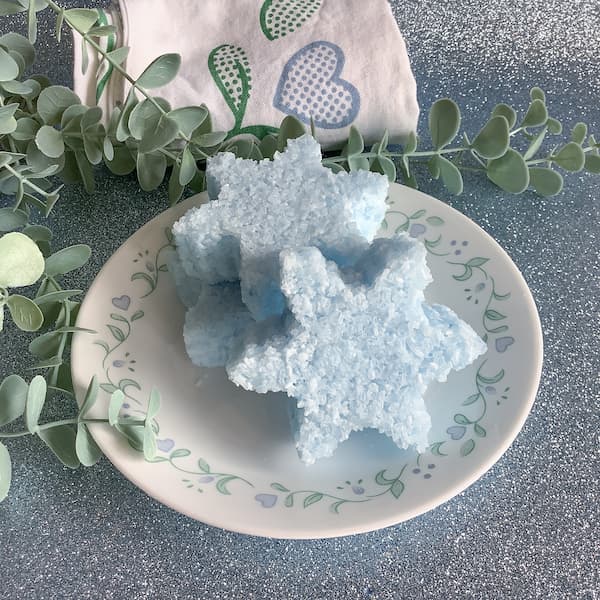
The salt cakes dry hard, but they are easy to break apart with your hands. Then you add them to a bath, just as you would loose bath salts, and get in and enjoy!
Kids love bath salt cakes too! You can crush them and break them and squish them between your fingers as they melt in the bath water.
It’s lots of fun and a great way to expose children to the benefits of Epsom Salts.
I’ve put together this basic bath salt cake tutorial for beginners who want to get creative with their own bath and body products.
Once you’ve mastered this basic recipe, feel free to explore the large range of bath salt cake recipes available on The Dancing Soap Dish.
What You Need to Make Bath Salt Cakes
Epsom Salts
Epsom salts (magnesium sulphate) lie at the heart of every good bath salts recipe due to the many uses and benefits they have for our well-being.
A medium to fine grain salt is required to make bath salt cakes. If the Epsom salt crystals are too large, the salt cake won’t hold together.
However you can use a combination of large grain and small grain salts by grinding down half of the Epsom salts in a blender or with a mortar and pestle.
Alternatively you can add other fine-grain salts such as sea salt, Himalayan salt, or even table salt.
Avoid magnesium salts (magnesium chloride) as they absorb moisture from the air and will cause your bath salt cakes to melt.
Baking Soda
Baking soda (or bi-carb soda) is a common ingredient in bath salts due to its health benefits when used in a bath.
It’s also the glue that’s gonna hold these cute little cakes together. If you leave it out your cakes will still hold together initially, but sometime in the future they will crumble back into salt.
If your baking soda is lumpy, sift it as you add it to your mixture.
Carrier Oil
As this recipe uses essential oils, I have included a carrier oil for dilution purposes. Essential oils should always be diluted, especially in the bath (where they have access to all sorts of nooks and crannies they might not ordinarily have).
Common carrier oils include fractionated or liquid coconut oil, jojoba oil, sweet almond oil (beware of nut allergies if you are giving these bath salt cakes as a gift), grapeseed oil, avocado oil, and the list goes on.
Essential Oils
This recipe calls for 10-20 drops of essential oil. That’s probably considered a little high compared to the amount of carrier oil used. The reason for this is that you will lose a fair amount of essential oil to evaporation when your bath salt cakes are left to dry.
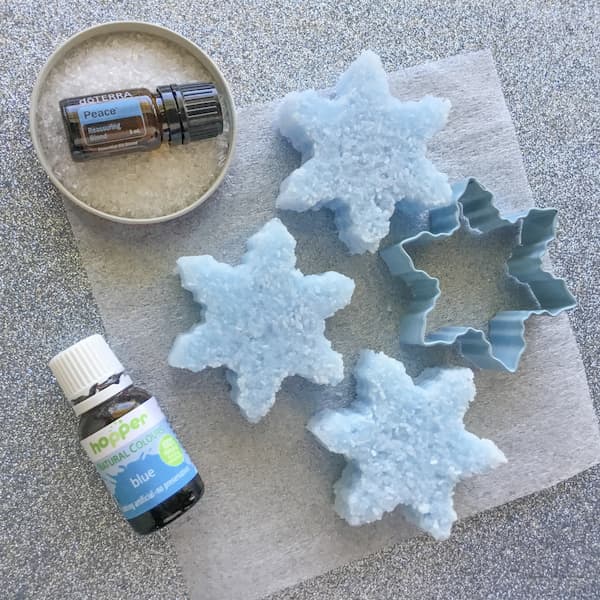
I want the scent of my bath salt cakes to relax and calm me, so I’m using doTERRA’s Peace Reassuring Blend, an essential oil blend that promotes feelings of peace, reassurance, and contentment.
Food Colouring
Colouring your bath salt cakes is optional, but adding a few drops of food colouring will not only make your bath salt cakes extra pretty, you’ll also know that your salt cake mixture is properly mixed when it turns a uniform colour.
I used natural food colouring for this bath salt cakes project.
Water
To increase the storage longevity of your essential oil project, do not use water from the tap in the recipe. This can lead to mould growth. Instead I recommend distilled, de-mineralized, or water that has been boiled and then cooled.
Alternatively rose water (also available from the supermarket) is a great idea (and will add to the beautiful scent of your bath salt cakes).
A Cookie Cutter
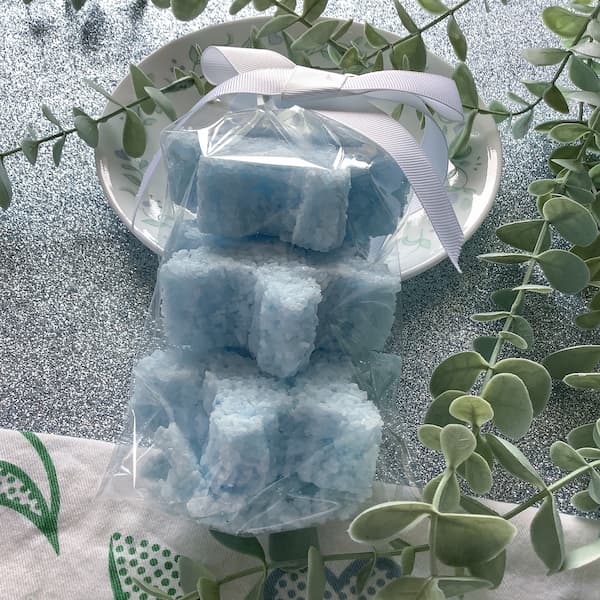
I’ve selected a snowflake cookie cutter that I picked up from my local kitchen supply store for my bath salt cakes, but feel free to use any shape of cookie cutter you like.
When choosing a cookie cutter, pick a shallow cutter (1/2″ – 3/4″ in height) over a deep one (1″+ in height). It can be a little tricky to lift your cutter up and away from your salt cake if the height of the cutter is an inch or taller.
Simple shapes are also best. If your cookie cutter is super detailed and has some tight spaces, you won’t be able to extract the bath salt cake from the cookie cutter without these areas being left behind.
Additional Items Required
Mixing Bowl and Spoon – You will require a mixing bowl and spoon to make this recipe. To be on the safe side, I recommend you use a non-plastic bowl and spoon for this activity as essential oils can quickly corrode some plastics. A glass, ceramic or stainless-steel bowl and a metal spoon is the way to go.
Tray Lined with Greaseproof Paper – These bath salt cakes need to stand for 24+ hours to dry. You cannot touch them during this time as they are fragile when wet.
Also some of the water and oil may leak out during the drying process.
A baking tray or serving tray lined with greaseproof paper is the perfect solution as you can then pick them up and move them to a safe place to dry.
The greaseproof paper will protect your tray from oil and water and also allows for easy clean-up once your project is finished.
Basic Bath Salt Cakes Video Tutorial
To make it easier for you to grasp the process, I created a video tutorial about how to make basic bath salt cakes.
How to Make Basic Bath Salt Cakes
These easy-to-make Peace bath salt cakes are one of my favourite uses for the doTERRA Peace Reassuring Blend.
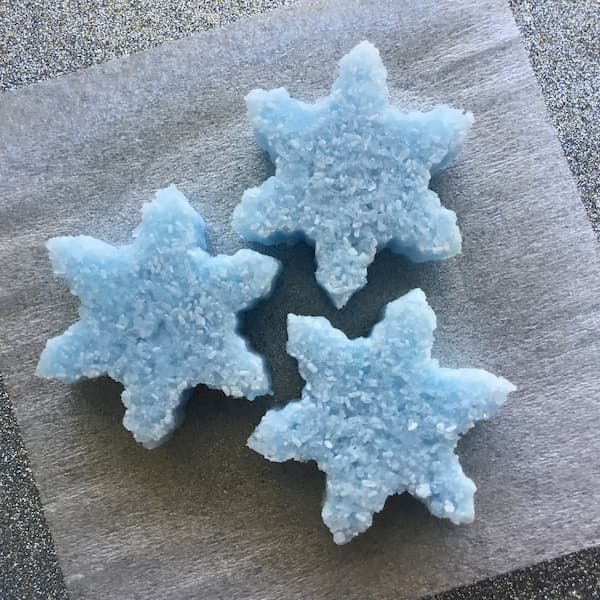
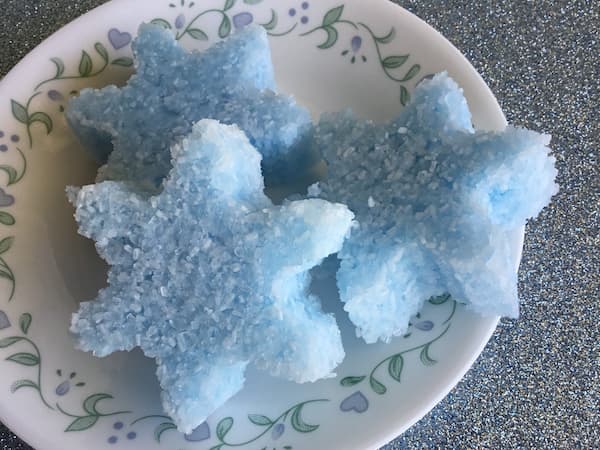
I used a snowflake cookie cutter paired with some blue natural liquid food colouring to make three bath salt cakes from one cup of Epsom salts, baking soda, essential oils and water.
Here’s the recipe I used.
Bath Salt Cakes Printable Tutorial

Basic Bath Salt Cakes
Equipment
- Glass, Ceramic or Metal Mixing Bowl and Spoon
- Tray lined with Grease-Proof Paper
Ingredients
- 1 Cup Epsom Salts
- 2 tbsp Baking Soda, sifted (a.k.a. bi-carb soda)
- 2 tsp Carrier Oil
- 2 tsp Water see notes
- 20 drops Essential Oil
- Natural Colouring
- Cookie cutter
Instructions
- Add Epsom salts and sifted baking soda into a non-plastic bowl and mix well.
- Add wet ingredients and stir until fully incorporated. If you have added a lot of liquid colouring, then you may need to add less water. Your mixture should be damp but not so soggy that the salt starts to dissolve.
- Place a cookie cutter on your paper-lined tray and fill it with the salt mixture.
- Pack it down level with the rim of the cookie cutter, and then slowly and carefully lift the cookie cutter to reveal a formed salt cake.
- Continue making salt cakes until you have run out of mixture.
- Set your salt cakes aside to dry for 24 hours, and then flip them over to dry for another 24 hours.
- Store them in a plastic zip-lock bag for colour and scent longevity.
- To use, drop all of them into a bath, or one or two into a bucket for a relaxing foot soak.
Notes
Troubleshooting Tips
Cookie cutters with simple shapes work best for this project. If your cutter has too many fine details or narrow areas, you may find it difficult to pull the cookie cutter away without breaking your bath salt cake.
If your salt cake does not remove easily from the cookie cutter, your salt mixture is too dry. Add some more water or and try again.
If your salt cake starts to sag or lose its shape after being removed from the mould, your salt mixture is too wet. Add some more salt and try again.
Enjoy!

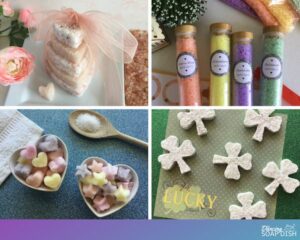
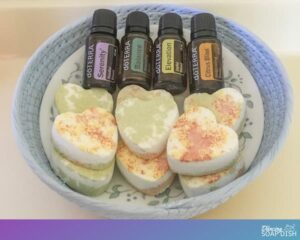

This looks so good! What a great gift to make for friends or to enjoy yourself!
Thanks for sharing! Do they keep long?
If stored correctly they can last for twelve months.