
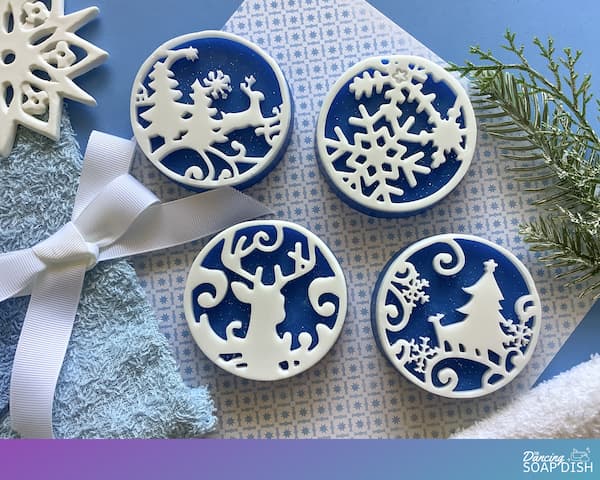
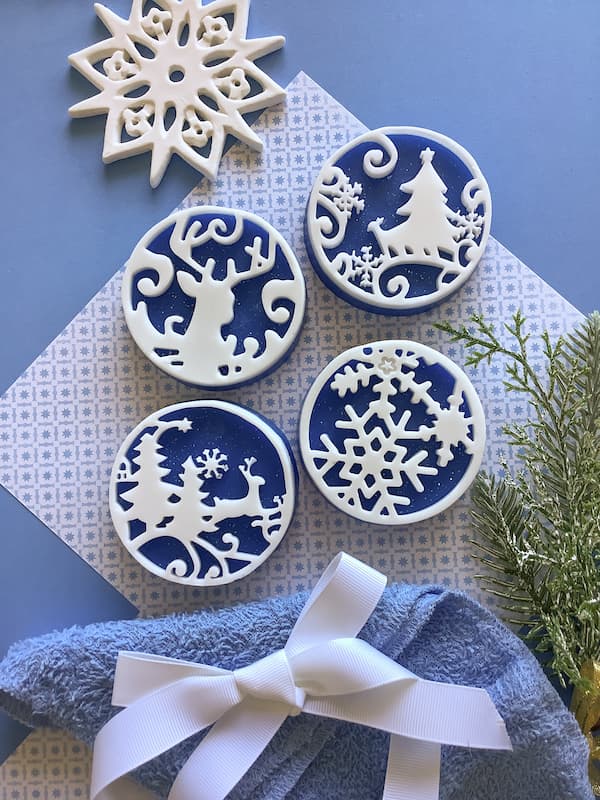
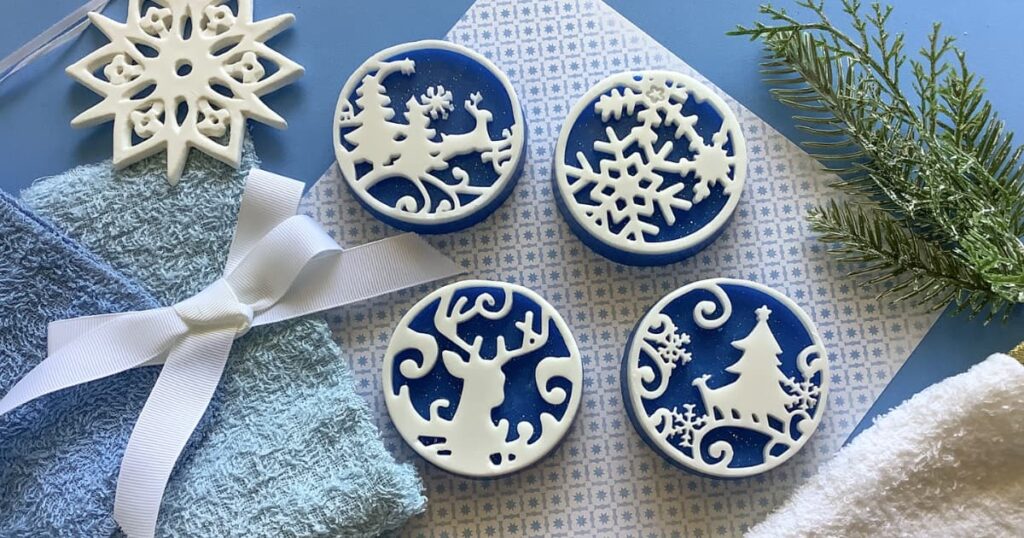
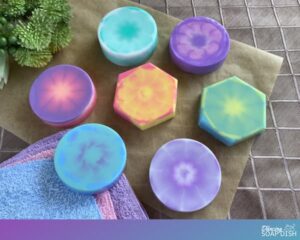
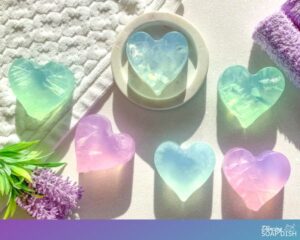
Looking for a crafty project while you’re cosying up inside this winter? Give these sparkly and serene winter silhouettes melt and pour soap bars a try!
This post contains affiliate links. If you buy something through one of those links, I will receive a small commission at no extra cost to you. As an Amazon Associate I earn from qualifying purchases.
Thank you for supporting my site!
Table of Contents
My Inspiration for Winter Silhouettes Soap
What You Need to Make Winter Silhouettes Soap
Winter Silhouettes Soap Video Tutorial
Winter Silhouettes Soap Instructions and Printable Tutorial
My Inspiration for Winter Silhouettes Soap
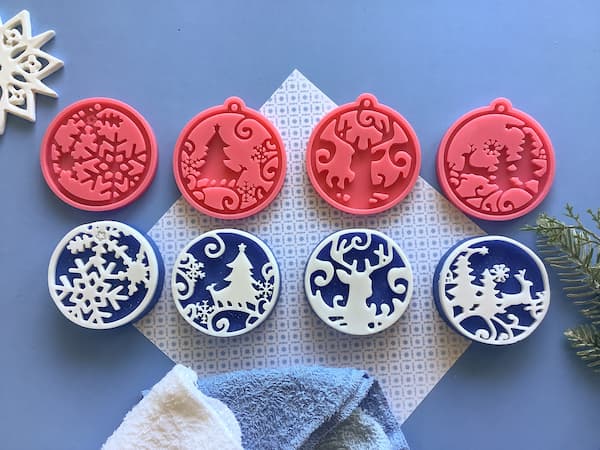
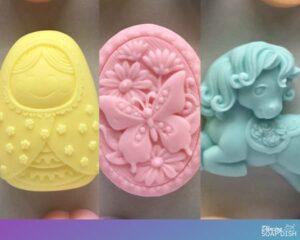
I fell in love with these Christmas ornament silicone moulds last Christmas.
They’re meant to be used for epoxy resin crafts but that’s not going to stop me using them for anything but.
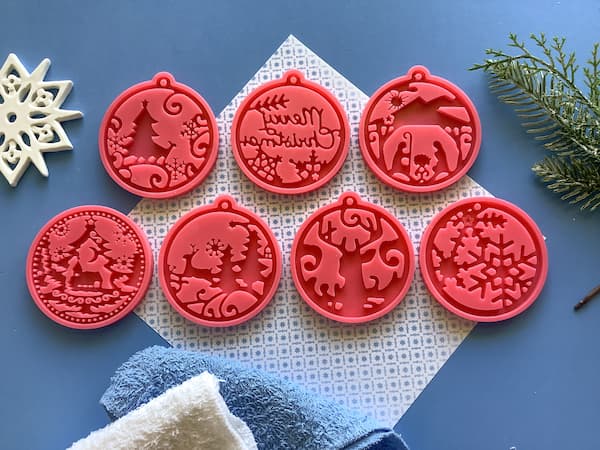
You might recognise the nativity-themed mould from my Stamped Nativity Ornaments project, but what I really wanted to do with them was make soap.
I planned to use them as an embed mould (i.e. fill the mould with soap, pop it out and then embed the design in a bar of soap), but I couldn’t get the soap out of the mould without the super fine details breaking off.
Frustrating.
But then over the Christmas break inspiration struck! If I could pour a bar of soap over the top of the intricate design, that bar of soap would have the strength to pull the tiny soap details out of the mould without them breaking off.
Since the mould is only 2mm deep, I needed to find a way to alter it to make it deeper. I’d used paper cups as soap moulds before, so I decided to give them a go.
Success!
Only now Christmas is over, so I don’t want to do another Christmas project.
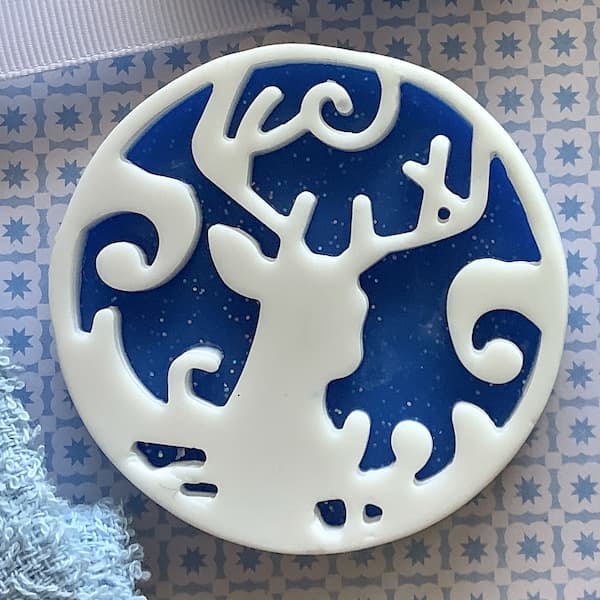
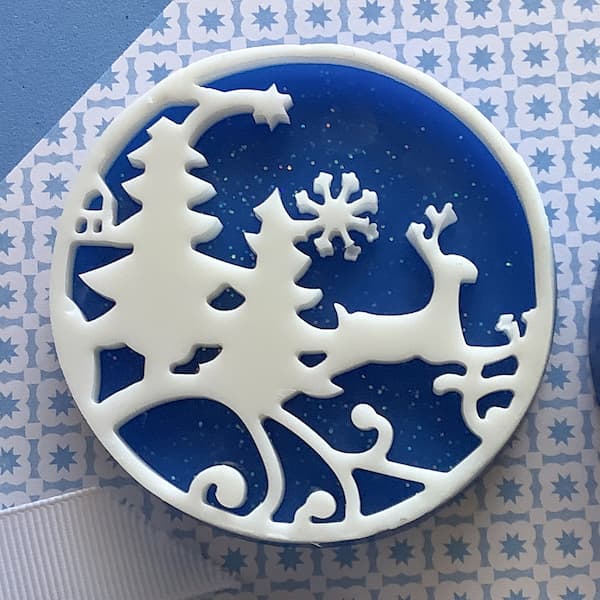
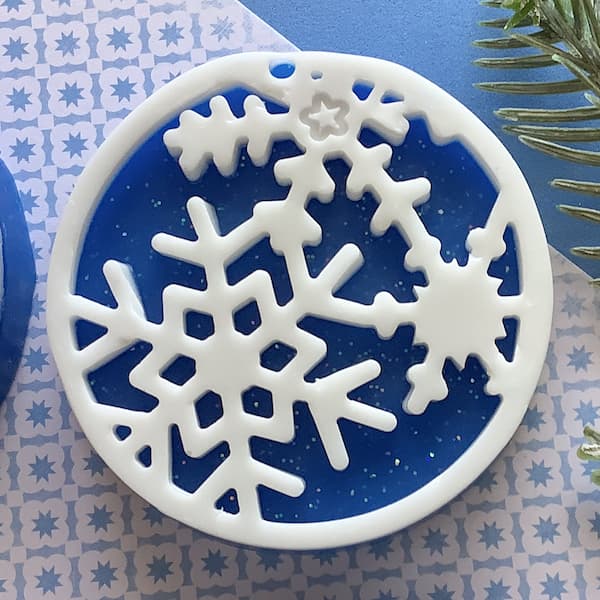
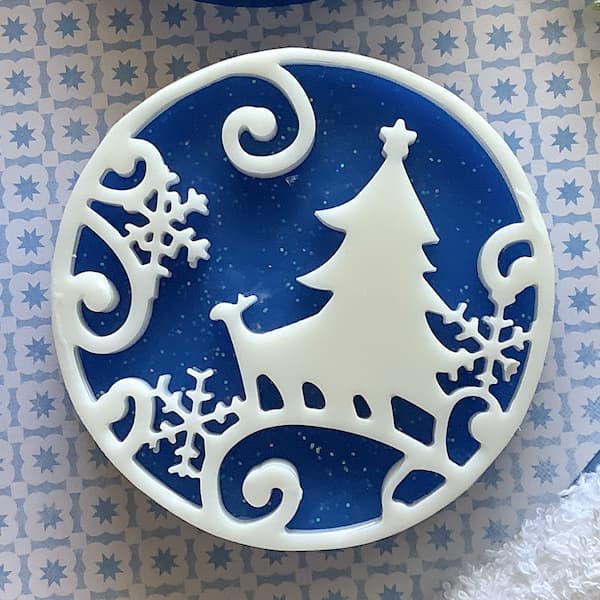
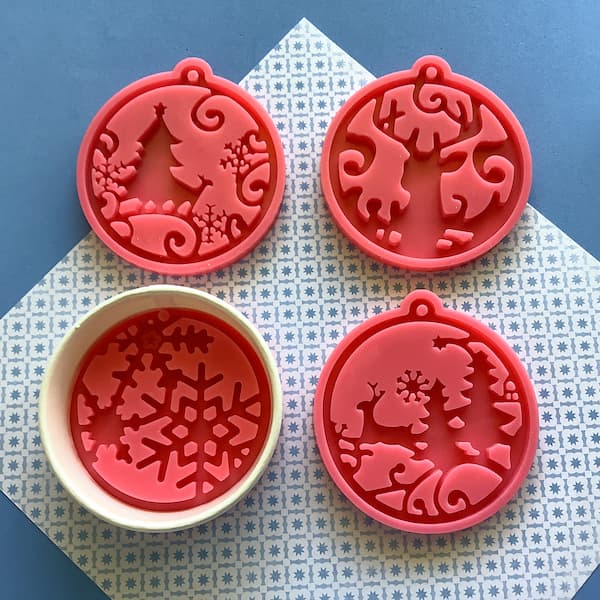
But since it is still winter in the northern hemisphere, I decided to pick out the winter snow scene moulds from the collection (four in all) and use them to create winter silhouettes soap!
Let’s get started!
What You Need to Make Winter Silhouettes Soap
Melt and Pour Soap Base
Melt and pour soap is sold as large blocks that you can cut up and then weigh out the amount of soap you need.
I used white melt and pour soap base and clear melt and pour soap base to make my winter silhouettes melt and pour soap bars.
I used white melt and pour soap base for the silhouettes and a combination of white and clear melt and pour soap base at a 10/90 ratio for the backgrounds.
Why the combination? Well, it makes the soap a deeper blue (to emulate the night sky), while still being opaque, and it helps the glitter shine through.
Each of my bars weighs between 55g-60g (~2oz), depending on the design, and all up I needed 70g (~2 ½ oz) of white soap base and 180g (~6 1/3 oz) of clear soap base. 250g (~8.8 oz) in total.
If you don’t wish you combine you bases, then using only clear melt and pour soap base is fine.
Don’t forget to add up to 5% for wastage.
Silicone Ornament Moulds
You can use any round ornament-shaped resin moulds for this project. I used these Christmas ornament moulds and picked out the ones that had a winter theme.
Live outside of the United States? You can also buy Christmas ornament resin moulds from AliExpress.
Paper Cups
Regular size (8oz) paper cups are all you need to make winter silhouettes soap bars, just make sure you test them out to make sure the soap doesn’t stick to them first (watch the video tutorial to see what I mean).
Soap Colouring
A deep, dark blue soap colouring is required for this project. I also used holographic eco glitter to emulate a starry night sky.
Essential Oils or Fragrance Oils
Scenting your soap is optional, but most of us prefer a pretty smelling soap bar.
For this project, I used Juniper Berry essential oil because it’s one of my personal favourites, but you can feel free to use your favourite combination of essential oils or your preferred fragrance oil.
If you are looking for ideas, check out my list of perfect essential oil soap scents.
Small Glass Measuring Cup (optional)
I highly recommend using a small glass measuring cup to pour the soap into the detailed areas of the mould. An espresso measuring cup (used by baristas) is ideal as it has a double spout, a wooden handle, and can withstand high heat.
Live outside of the United States? You can also buy espresso measuring cups from Aliexpress.
Plastic or Rubber Scraper (optional)
Having a rubber scraper on hand to scrape off any excess soap from around the silhouette layer is a good idea.
Live outside of the United States? You can also buy rubber scrapers from Aliexpress.
Rubbing Alcohol or Vodka in a Small Spray Bottle
Alcohol (rubbing alcohol/isopropyl alcohol or vodka) has a number of uses when making melt and pour soap:
- Spraying the soap with alcohol once it’s poured will remove any bubbles sitting on the soap’s surface.
- Spraying alcohol between soap layers helps them adhere together.
- Spraying the soap mould with alcohol while pouring the soap helps the soap spread evenly into the fine recesses of the mould.
Additional Materials Required
Kitchen Scales – I’ve used grams in this recipe because the amounts are easier to manage compared with ounces. Most kitchen scales these days are interchangeable between grams and ounces. Check your scale’s instruction booklet for how to change you scale to measure in grams and then change it back when finished.
A Tray Lined with Greaseproof Baking Paper – Position the ornament moulds on a piece of greaseproof baking paper on a tray before pouring to allow for easy cleaning up (there may be drips) and transport.
Glass Measuring Jug – You will need a larger (500ml/16oz) measuring jug to melt the white and clear melt and pour soap base. I have a separate glass measuring jug dedicated to creative projects (soap making, lotion bars, lip balm etc) to avoid any cross-contamination of non-ingestible ingredients with food. I recommend you do the same.
Metal or Bamboo Skewer – Skewers are super handy for stirring and can be easily cleaned or disposed of. A wooden popsicle stick or disposable spoon will also suffice.
Paper Towel – Make sure you have some paper towel on hand for cleaning up (there may be drips) and for resting your skewers on after stirring.
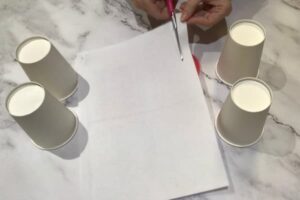
A Sheet of Paper and a Pencil – Use a strip of paper to measure the circumference of the silicone mould and a pencil to mark it out on a paper cup.
A Pair of Scissors – You will need a pair of scissors to cut the paper and paper cups.
Sticky Tape – Use sticky tape (cello tape) to tape together the paper template for altering the paper cup.
A Retractable Craft Knife – A retractable craft knife is required to cut the paper cups
Microwave or Double Boiler – Melt your soap base in either a microwave or a double boiler.
Winter Silhouettes Soap Video Tutorial
To make it easier for you to grasp the process, I created a video tutorial about how to make winter silhouettes soap bars.
How to Make Winter Silhouettes Soap Bars
Want your winter silhouettes soap to look like mine?
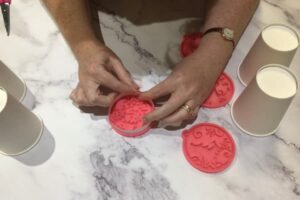
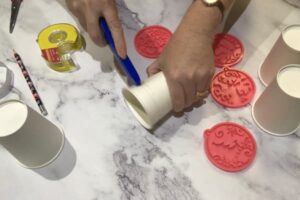
First, I altered a resin ornament mould by cutting a paper cup to size and inserting it around the circumference of the mould cavity.
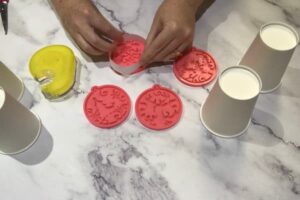
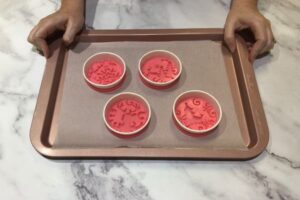
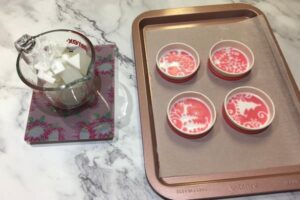
Then I filled the ‘silhouette’ part of the moulds with white melt and pour soap base scented with Juniper Berry essential oil.
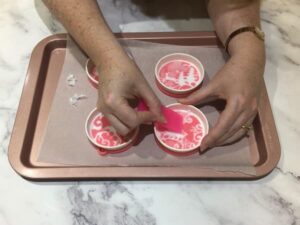
After the soap had set, I cleaned up the ‘silhouettes’ by removing any excess soap and overpours.
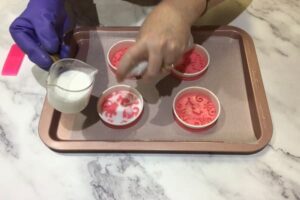
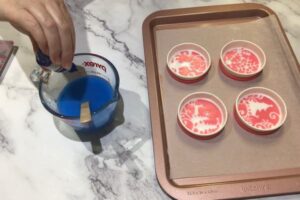
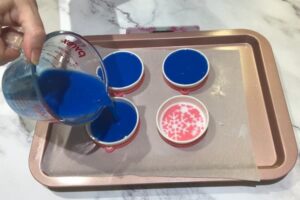
I then filled up the rest of the mould with a 90:10 ratio of clear melt and pour soap base and white melt and pour soap base (also scented with Juniper Berry) tinted with deep blue soap colouring and eco glitter to create a beautiful, starry night sky.
Once the soap bars were set, I carefully pried the silicone mould away from the surface of the soap and popped the soap out of the paper cup.
Winter Silhouettes Soap Bars Printable Tutorial
Winter Silhouettes Melt and Pour Soap Bars
Equipment
- Alcohol in a Small Spray Bottle (rubbing alcohol, isopropyl or vodka)
- Kitchen Scales
- Tray lined with Grease-Proof Paper
- Rubber Scraper
- Small Glass Measuring Cup
- Bamboo or Metal Skewer
- A Pair of Scissors
- Sticky Tape
- A Pencil
- A Retractable Craft Knife
- Paper Towel
- Microwave or Double Boiler
Ingredients
- 180 g Clear Melt and Pour Soap Base ~3 1/3 oz
- 70 g White Melt and Pour Soap Base ~2 ½ oz
- 4 Ornament Silicone Moulds Winter Themed
- 4 Regular Sized Paper Cups 8oz
- Soap Fragrance or Essential Oils optional
- Dark Blue Soap Colouring
- Holographic Eco Glitter
Instructions
- Set out all of your equipment and ingredients ready to be used.
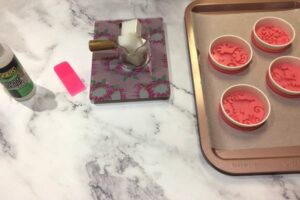
Altering the Silicone Mould
- Take a sheet of paper and cut a 1cm (1/2”) strip off the length of it with a pair of scissors.
- Place the strip of paper inside the cavity of an ornament mould and curve it around the circumference of the mould cavity (ie the circumference of the ‘silhouette’).
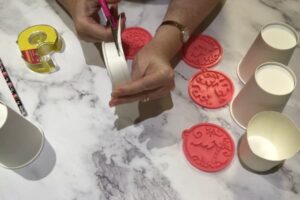
- Take a piece of sticky tape and tape the paper to itself so that you have a paper template identical to the circumference of the ornament mould cavity.
- Cut the excess off the strip of paper and tape down the edges.
- Double check the size of your template by putting it back in the ornament mould and ensuring that the template sits snug around the edge of the mould cavity.
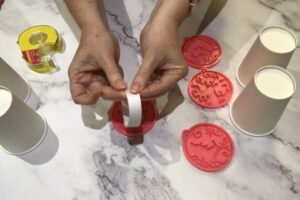
- Take a paper cup and slide the paper template up around the outside of the paper cup until you cannot push it up any further. Ensure the paper template is sitting parallel and level with the rim of the paper cup.

- Take a pencil and draw a line along the upper edge of the paper template marking a ring around the paper cup where the template sits.
- Remove the paper template from the paper cup.
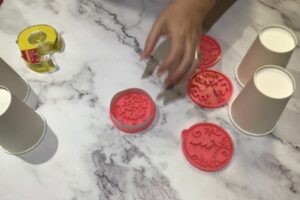
- Using a retractable craft knife, cut the paper cup about 0.5cm (1/4”) below the marked line all the way through.
- Set the bottom part of the cup aside for later use.
- Now use a pair of scissors to cut along the pencil line around the paper cup ring. Try to be as accurate as possible.
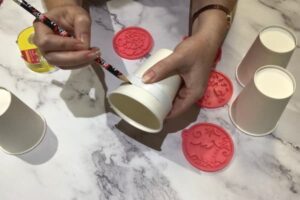
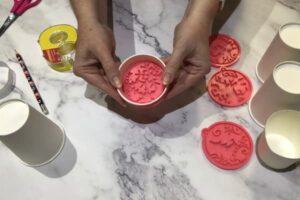
- Place the paper cup ring inside the round cavity of the ornament silicone mould. It should fit perfectly.
- Repeat steps 6 – 12 for the remaining silicone moulds.
- Place the altered ornament moulds on a tray lined with greaseproof paper.
Pouring the Soap
- Using a set of kitchen scales, weigh out 70g (~2 ½ oz) of white melt and pour soap base and cut it up into small cubes.
- Put the soap cubes in a glass measuring cup.
- Melt your soap base as per the instructions in a microwave or double boiler.
- Scent your soap with fragrance oils or essential oils.
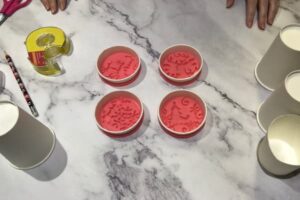
- Gently and slowly pour a small amount of soap into the cavities of each ornament mould until the ‘silhouette’ design is just covered.
- Spray the surface of the soap with alcohol as you go. This will help the soap move into the smaller parts of the silhouette and prevent bubbles in the design.
- When you are finished, pour the remaining white soap base into the bottom part of a paper cup that you cut up earlier.
- Set the soap aside to harden for 1 hour.
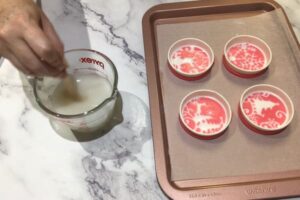
- Once the soap is set, remove any excess soap and overpours from around the ‘silhouette’ with your fingernail or a rubber scraper. Also check the inside of each paper cup for drips and remove those too.
- Weigh out 180g (~6 1/3 oz) of clear melt and pour soap base and cut it up into small cubes.
- Put the soap cubes in a glass measuring jug.
- Tear apart the paper cup to remove the excess white melt and pour soap base left over from pouring the ‘silhouette’ part of the soap bars, cut it into small cubes, and add 20g (0.7 oz) to the glass measuring jug along with the clear base.
- Add an extra cube or two for wastage.
- Melt your soap base as per the instructions in a microwave or double boiler.
- Scent your soap with fragrance oils or essential oils.
- Tint the soap to a deep, dark blue colour using liquid soap colouring.
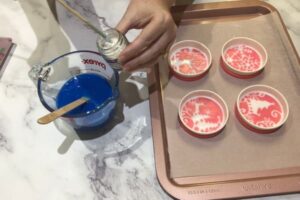
- Add holographic eco glitter. Use only a tiny amount (4 x the end of a skewer dipped into the glitter and then stirred into the soap base).
- Position the tray holding the moulds on a set of kitchen scales
- Press TARE.

- Pour the blue soap base into a mould until the weight measures 50g (~1 ¾ oz).
- Spray the surface of the soap with alcohol to remove any bubbles.
- Repeat steps 19 – 21 for each mould.
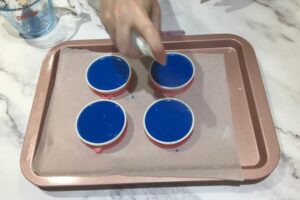
- Set your soaps aside to harden overnight.
Demoulding the Soap
- Once the soap has set hard, gently ease away the silicone ornament mould from the soap bars by peeling the mould back little by little as you turn the soap in your hand.
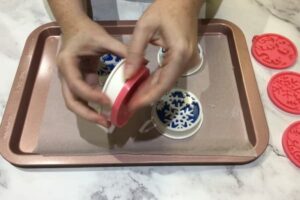
- Once the silicone ornament mould has been removed the soap bar should pop easily out of the paper cup (see the video tutorial if you have trouble releasing the soap from the paper cup).

Enjoy!
