
One essential oil DIY recipe – SEVEN uses!
I love a good essential oil DIY recipe – and I’m not just talking about personal diffuser blends or roller bottles for every ailment under the sun.

I’m talking about body care products, household cleaners, air fresheners and beautiful gifts for family and friends. You know, those do-it-yourself recipes that really put your oils to good use.
This post contains affiliate links. If you buy something through one of those links, I will receive a small commission at no extra cost to you. As an Amazon Associate I earn from qualifying purchases.
Thank you for supporting my site!
Over the years I’ve noticed one basic recipe popping up over and over again for a whole host of uses with little or no alteration 😲.
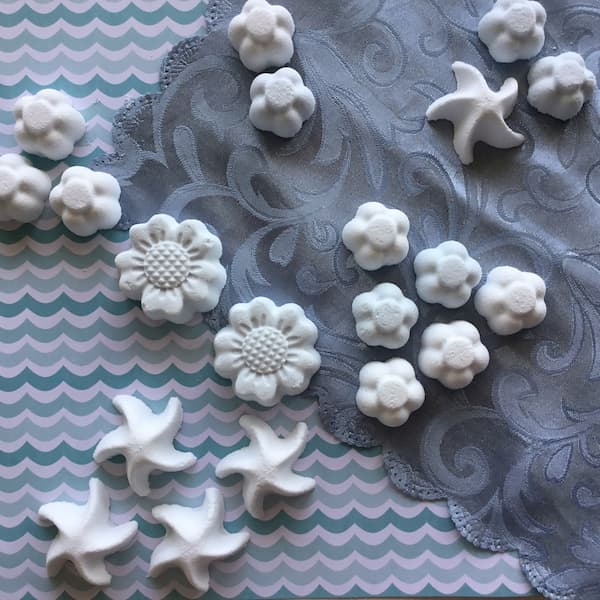
It’s the humble home-made bath bomb recipe.
Yep, this simple combination of baking soda, citric acid and essential oils appears time and time again across the internet with uses ranging from delighting children, relaxing tired bodies, as well as cleaning and deodorising.
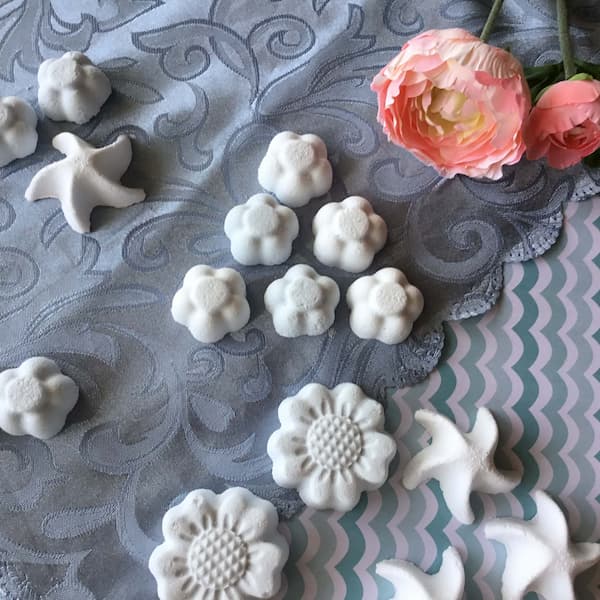
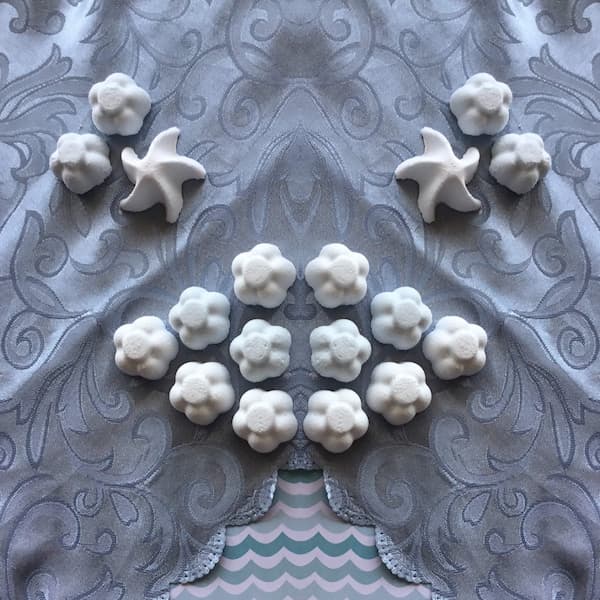
It’s ridiculously simple. Mix the ingredients, push them into a mould, and wait for them to dry.
Plus here is a helpful hint: make them unscented, that is, without the essential oils, and then add the oils just before use. This enables you to customise your oils based on each specific use.
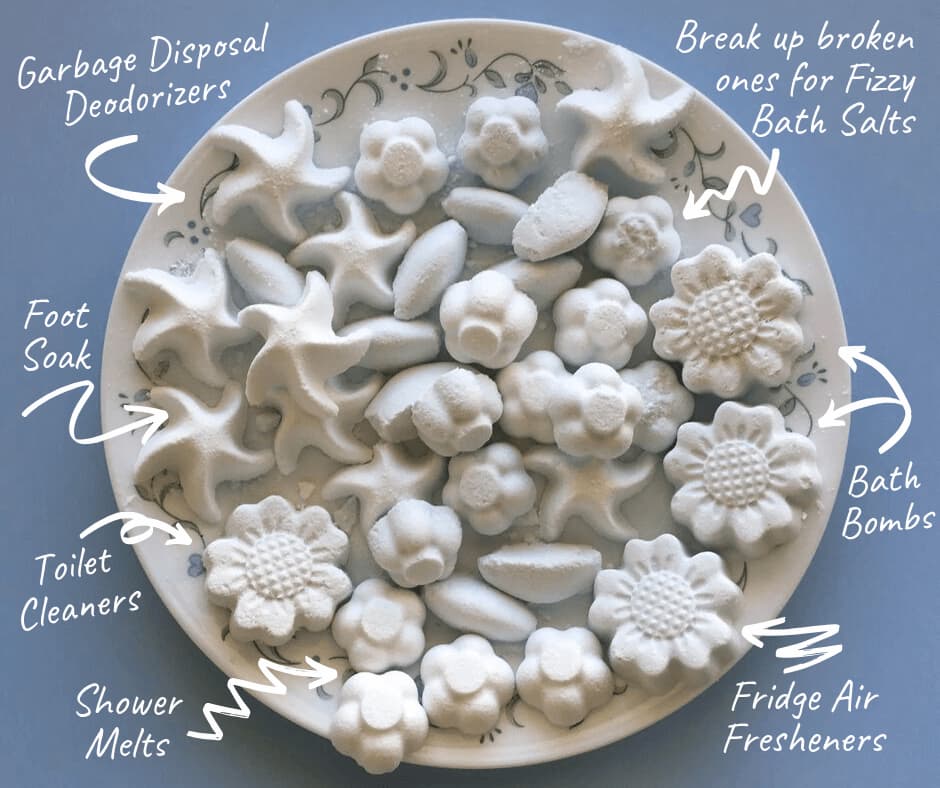
It also means that out of one batch you can do everything listed below, saving you time and energy by not having to make multiple batches for multiple uses.
After they have dried, pop them out of their moulds, and put them to use in the following ways.
Bath Bombs
Yep, in case you haven’t heard, baking soda + citric acid + water = FIZZ!! So this recipe makes an excellent bath bomb. All you have to do is drop a couple into a bath of water and wait for the squeals of delight from the kids (or yourself 😉).
Essential Oil Suggestions: These are lots of fun, so take advantage of the fact that the kids will love them and add essential oils to support the immune system (Frankincense, Eucalyptus, Clove, Ginger, Rosemary, Cinnamon, Orange) or protective blends such as Young Living’s Thieves or doTERRA’s OnGuard. Calming essential oils (Lavender, Cedarwood, Vetiver, Clary Sage, Roman Chamomile) are also great to calm a rowdy child before bed.
Customise them further: Add some natural food colouring or super-food powders (pomegranate, beetroot, turmeric, spirulina) to turn your bath bombs a pretty colour and make them even more fun to play with.
Foot Soak Bombs
Don’t do baths? No worries. Grab a tub or bucket and give yourself a foot soak. Fill your tub with warm water and place it on a towel beside a chair, pop your feet in and then add several of your all-purpose ‘bombs’ and feel the bubbles fizz between your toes.
Essential Oil Suggestions: Try Lavender, Tea Tree (Melaleuca), Manuka, or Copaiba to keep nasty foot infections or stinky feet at bay. Alternatively you could try Peppermint and cold water for a cooling foot soak on a hot day.
Customise them further: Add ½ Cup of Epsom Salt to your foot soak if you have tired, sore feet. Plus add some tea to your foot soak for even more benefits! Did you know black tea is great for killing the bacteria that causes stinky feet? Alternatively a beautiful herbal tea (like roman chamomile or a special sleep blend) will add another beautiful scent that you can inhale as your feet soak. Ahhhhh so relaxing!
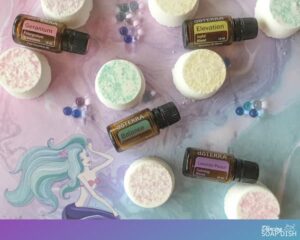
Shower Melts
Don’t do baths OR foot soaks? Well then this one is for you. You don’t have to go to all the trouble of running a bath to enjoy this recipe. You can also use them as shower melts! Add your essential oils to the shower melts right before using. Drop the oils directly on top, then place your melt in the corner of your shower where it will get wet, but is not directly below the water stream. Watch it melt as you shower and inhale the essential oils as they are diffused. Wash any residue down the drain when you are finished. Now you are clean and refreshed in both body AND mind.
Essential Oil Suggestions:
Morning Shower (Invigorating Essential Oil Blends)
- Wild Orange and Peppermint
- Lavender and Spearmint
- Rosemary, Lemon & Cypress
Evening Shower (Calming Essential Oil Blends)
- Lavender, Bergamot and Frankincense
- Clary Sage, Wild Orange and Cedarwood
- Vetiver and Lavender
Customise them further: Add some colour to your shower melts with food colouring, soap colouring or coloured Epsom salts. Make sure you put some out with your favourite essential oils whenever you have guests staying at your house.
Toilet Cleaners
Baking soda and citric acid are both great natural cleaners with the ability to tackle dirt and stains. So it’s no surprise then that this recipe can also be used to create cute little toilet cleaner tablets. Add a few to your toilet bowl and walk away. Go and do something else for 10 minutes before returning to give your toilet bowl a light scrub and watch it sparkle.
Essential Oil Suggestions: Let’s be honest here, when cleaning you really can’t go past Lemon essential oil. Lavender and Eucalyptus combined have a beautiful, fresh scent also.
Customise them further: Store them in a container tied with a pretty ribbon on top of your toilet for easy access so you can quickly toss some in when unexpected guests arrive.
Garbage Disposal Deodorisers
If you have a garbage disposal, then there’s a good chance that at one time or another it’s been on the nose. Long periods between uses or a hot summer day can cause a certain staleness to come wafting up from your kitchen sink. It’s not nice.
That’s why it’s a good idea to have this recipe on hand to make your own garbage disposal deodorisers. Toss a few down the plug hole, add a small stream of water from your tap (don’t blast them down the drain too quickly – give them time to work), turn the unit on and let it give your deodorisers a good munch. Now give it a good flush with water and there should be no more nasty odour.
Essential Oil Suggestions: You need to bring out the big guns when tackling a stinky job like this. Try your favourite citrus oils and other strong-scented oils such as mints and spices. A blend of orange and peppermint is always a winner, as well as a lemon and lime combo.
Customise them further: Add some citrus zest to your mixture when making your deodorisers. This will give you an extra level of freshness. Got a stinky trash can? Toss some of these in there too!
Fridge Air Fresheners
Have you got an open box of baking soda in your fridge to help soak up any unsavoury smells? Well you can also use this recipe to make essential oil fridge air fresheners. Pop a few on a saucer or in a bowl and place them on a shelf towards the back of the fridge. Add more essential oil as necessary and replace your air fresheners every 2-3 months.
Essential Oil Suggestions: Again, citrus oils are your friend when making air fresheners. Vanilla Absolute or essential oil blends containing Vanilla are also recommended.
Customise them further: Some fridges actually have little compartments with a block or sachet deodoriser in them (check the back wall of your fridge, you may be surprised). These compartments should be easy to open with the ability to replace the deodoriser if necessary. Using an ice tray as a mould for your fridge air fresheners can make the perfect size air freshener to replace the deodorisers when they are no longer effective.
Fizzy Bath Salts
Even when taking the utmost care when making this recipe, you may end up with a few breakages. So what do you do with a broken bath bomb/foot soak bomb/shower melt/toilet cleaner/garbage disposal deodoriser/fridge air freshener? You break it up further and use it to make fizzy bath salts of course!
Put your broken pieces in a zip lock bag and crush them up into a powder with a meat tenderiser. Add your powder to Epsom salts with a ratio of 2:1 (Epsom salt:powder), add a little more essential oil and carrier oil, and give it a stir. Now you have some gorgeous smelling bath salts that will fizz nicely when added to your bath (or the kid’s bath).
Essential Oil Suggestions: If you’ve already added a citrus oil to use for cleaning or deodorising, then add lavender or a mint essential oil to create a more appropriate scent for a bath.
Customise them further: You can use soap colouring or food colouring to dye your bath salts and then pop them in a cellophane bag tied with a pretty ribbon to give as a gift.
It’s just so easy!
Gather Your Supplies to Make the All-Purpose Essential Oil DIY Recipe
Baking Soda
Baking soda (or bi-carb soda) is one of the two ingredients required to create fizzing and bubbles when a bath bomb is dropped in water. If your baking soda is lumpy, sift it as you add it to your mixture.
Citric Acid
Citric acid is the second ingredient required to create the chemical reaction that causes the release of carbon dioxide bubbles when a bath bomb is dropped in water. Using a fine-grain citric acid is best when making bath bombs.
Essential Oils and a Carrier Oil
As this recipe uses essential oils, I have included a carrier oil for dilution purposes. Essential oils should always be diluted, especially in the bath (where they have access to all sorts of nooks and crannies they might not ordinarily have).
The carrier oil in this recipe also has the secondary function of being the ‘glue’ that holds this recipe together so it can be moulded into the desired shapes. It also slows the rate of evaporation of the essential oils in order to maintain the scent of your recipe.
Common carrier oils include fractionated/liquid coconut oil (coconut oil that has had it’s fatty chains removed so it is liquid at room temperature), jojoba oil, sweet almond oil (beware of nut allergies if you are giving these bath salt gems as a gift), grapeseed oil, avocado oil, and the list goes on.
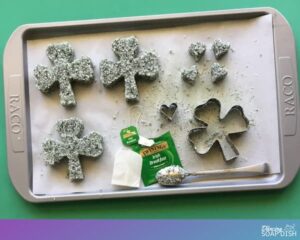
Colouring
Colouring this recipe is completely optional, but if your making bath bombs, shower melts or foot soaks as gifts you may want to add a pretty tint.
Food colouring is what most people reach for and, while you can have success using food colouring to colour this recipe, I want to warn you that food colouring can contain ingredients that may cause this recipe to fizz prematurely, or crack and crumble once dry. Food colouring is also prone to fading after a relatively short time.
To colour this recipe, I recommend soap colouring because the ingredients are stable and consistent across all colours.
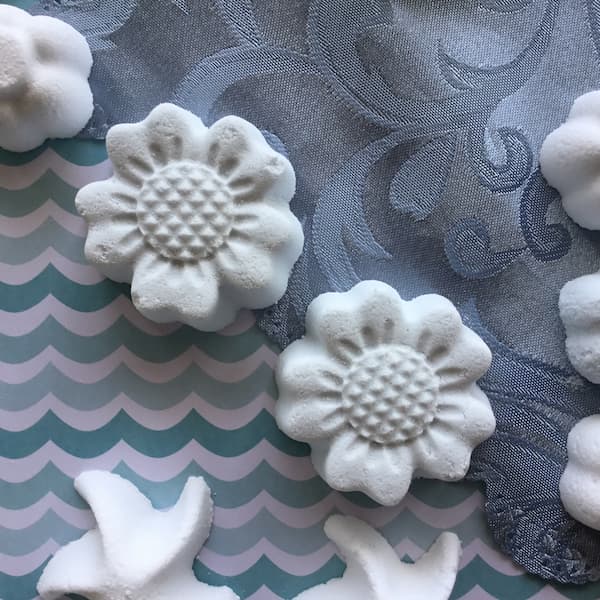
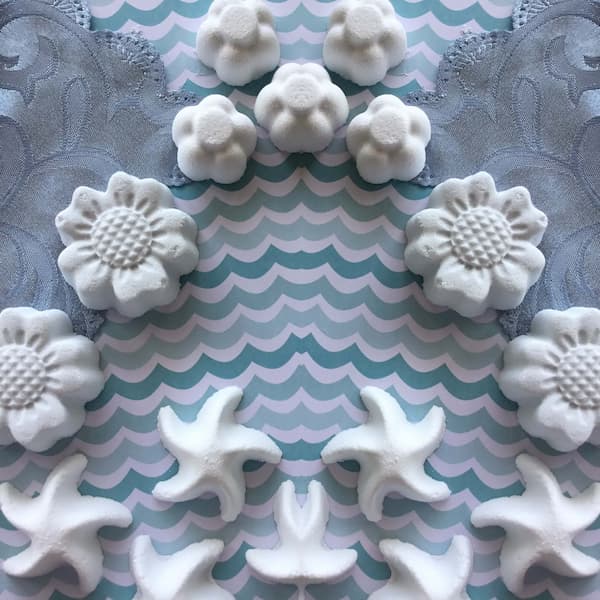
A Mould
A mould is a necessary requirement to make this recipe. I’ve used IKEA ice moulds and cute little flower moulds I bought online.
Mixing Bowl & Spoon
You will require a mixing bowl and spoon to make this recipe. To be on the safe side, I recommend you use a non-plastic bowl and spoon for this activity as essential oils can quickly corrode some plastics. A glass, ceramic or stainless steel bowl and a metal spoon is the way to go.
Printable Recipe
The All-Purpose Essential Oil DIY Recipe
Equipment
- Glass, Ceramic or Metal Mixing Bowl and Spoon
Ingredients
- 1 Cup Baking Soda aka Bi-Carb Soda
- 1/2 Cup Citric Acid
- 1 Tbsp Carrier Oil 15ml
- 15-20 Drops Essential Oil
- Colouring Optional
- Silicone Mould
Instructions
- Sift the baking soda and citric acid into a bowl and mix well. Add the carrier oil and essential oils (plus any colouring if you are using it). Use your hands to combine the mixture, rubbing it between your fingers to evenly disperse the wet ingredients. You’ll know your mixture is ready when it sticks together/packs down and can keep its shape. It will still look kind of dry, but if you take a handful of the mixture and squeeze it, it should pack easily into a ball. If your mixture is too dry add a few more drops of carrier oil and mix again.
- Now grab a mould and place a couple of spoonfulls of mixture in it. Push the mixture down firmly to cover the bottom of the mould as this will ensure your mixture is compacted well and cause less breakage. If you are using a soft silicone mould, be careful not to push so hard that your push the mould out of shape. Continue to fill your mould, pushing down the mixture and compacting it into place. Compaction is an important step as it may mean the difference between hard or crumbly ‘bombs’ once they are dry.
- Set the bath bombs aside to air dry for 24-72 hours. If humidity is high at the time you make your bath bombs, consider drying your bath bombs in the oven on the lowest setting with the fan on for an hour or so.
- When they are sufficiently hardened, they should release from your moulds fairly easily, if they are still wet, they will not fall out with ease.
Notes
Enjoy!

